AWD: The five types of Subaru systems
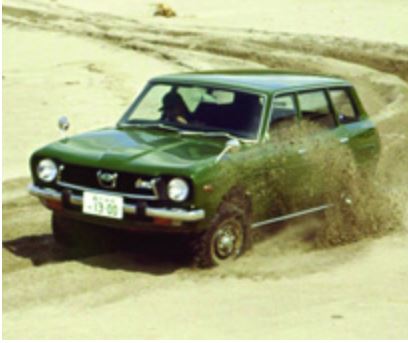
Back in 1972, Subaru introduced the Leone 4WD Station Wagon. It was the first fourwheel drive vehicle designed specifically for everyday driving, rather than for off-road or rugged use.The safety and driving performance aspects of the Leone 4WD proved popular and made the car successful. It quietly set the standard for Subaru to become the global AWD leader of today.
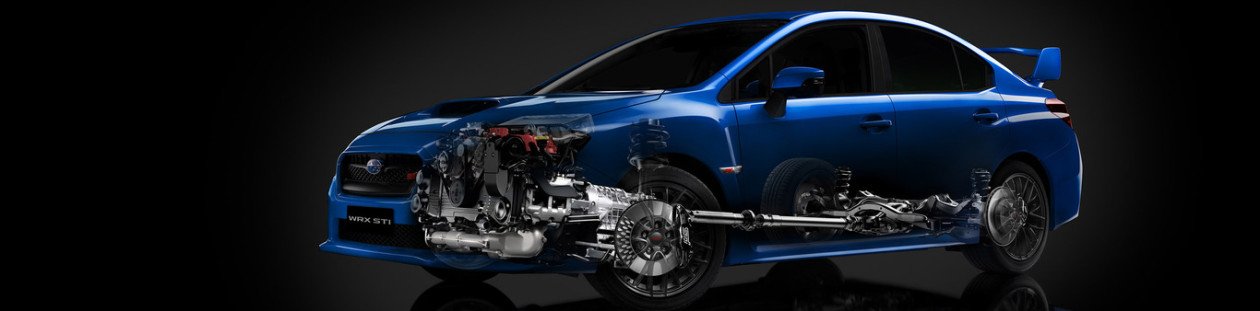
Subaru Symmetrical All-Wheel Drive:
Subaru calls its system of mating a horizontally opposed (boxer) engine to various types of full-time AWD “Symmetrical All-Wheel Drive.” This system is based on the balance of both the powertrain and the straight, nearly-horizontal, flow of power to the wheels.The weight of the flat boxer engine and the transfer components lie very low in the chassis, providing a lower center of gravity, resulting in excellent traction and stability.
The Five Types of Subaru Symmetrical All-Wheel Drive:
Subaru currently uses five different types of Symmetrical AWD. Each is specific to the Subaru model and transmission.The five types are:
■ Continuous All-Wheel Drive
■ Active All-Wheel Drive
■ Variable Torque Distribution (VTD) All-Wheel Drive.
■ Driver Controlled Center Differential (DCCD) All-Wheel Drive
■ Vehicle Dynamics Control (VDC) All-Wheel Drive