Category Archives: 2.5RS

Ignition Coil Testing “Waste spark ignition system”:

Ignition Coil Testing “Waste spark ignition system”:

All late model Subaru four cylinder engines employ a “waste spark” ignition coil system. Each time the ignition coil fires, it provides a spark to two cylinders at exactly the same time. Since only one of the two cylinders is on the compression stroke when the coil fires, the spark to the second cylinder (which is on the exhaust stroke) is “wasted. ”

Ignition Coil Testing "Waste spark ignition sytem": A subaru waste spark coil pack.
Ignition Coil Testing “Waste spark ignition sytem”: A subaru waste spark coil pack.

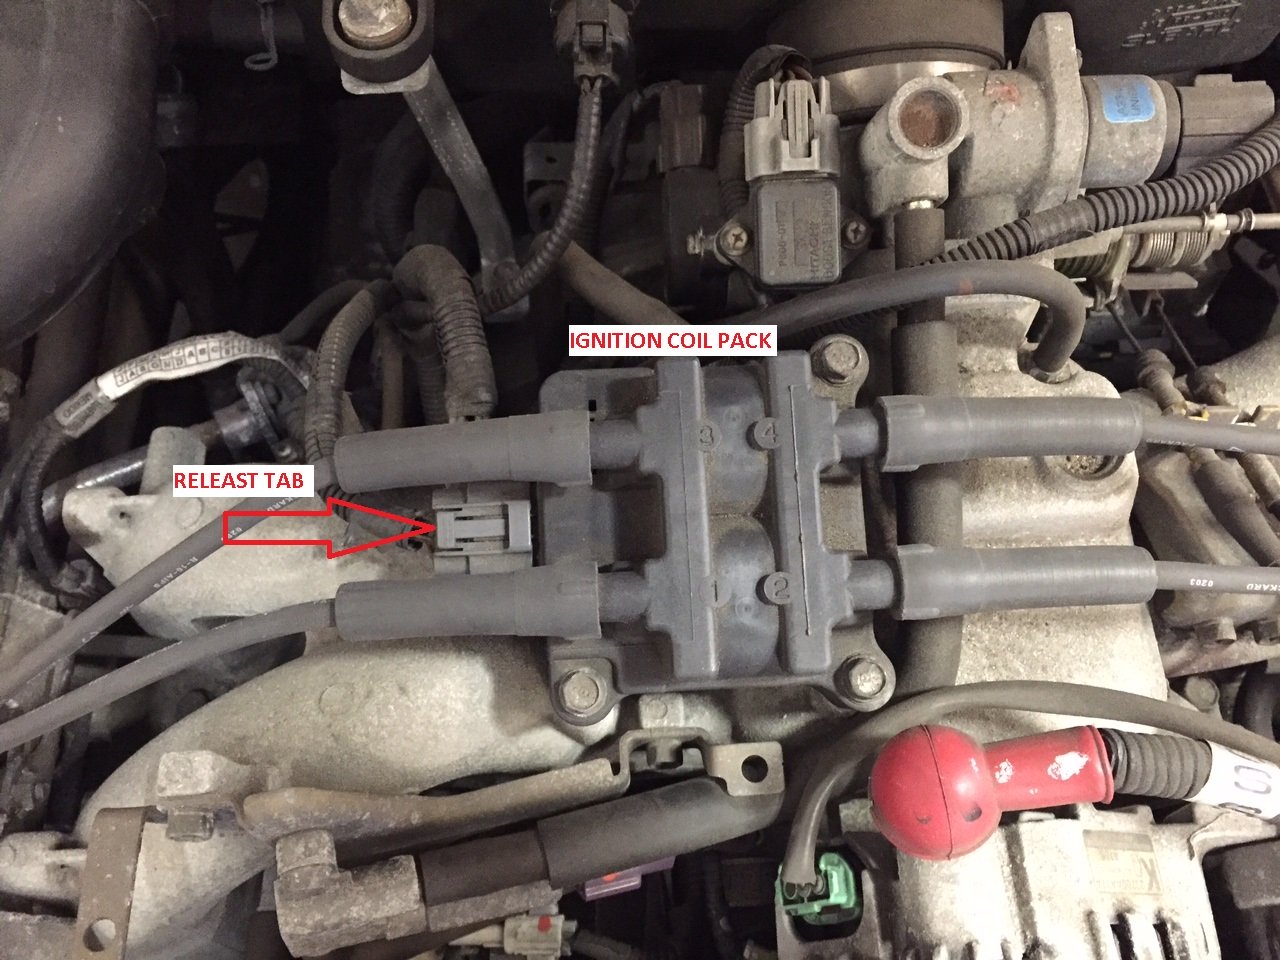
The ignition coil sits on top of the intake manifold and is divided into two halves. One half provides the spark to the number 1 and 2 cylinders, and the other half provides the spark to the number 3 and 4 cylinders. Instead of the familiar single secondary coil terminal, this coil has four secondary coil terminals.

Testing methods for this type of coil are slightly different from what you might be accustomed to as well. Using an accurate DMM, inspect the following items, and replace the ignition coil if it is found to be defective:

• Primary resistance

• Secondary resistance

Caution: If the resistance is extremely low, this indicates the presence of a short circuit.

Pitch Stop Install on Subaru WRX/STi

Pitch Stop Mount Install on Subaru WRX/STi:

This is a step by step guide on how to install an aftermarket Pitch Stop Mount to your 02-07 Subaru WRX or STi.

Pitch Stop Mount: In the foreground a oem plastic pitch mount and in the background a Perrin Performance pitch stop mount.

1.) Locate and remove the three 10 mm Gold colored bolts that secure the black vacuum lines to the bottom of the intercooler. You will need a shallow socket as it gets tight around the BOV. Careful not to drop them into the engine bay, it will be a PITA to find and retrieve them.

2.) Locate and remove the two 12 mm bolts that secure the recirculating BOV to the bottom of the intercooler. Again be careful not to drop these into the engine bay as it’s a jungle down there and it will be a PITA to retrieve them.

3.) Locate and remove the two 12 mm bolts that secure the intercooler to the engine. These are located one on each side of the intercooler.

4.) Now the intercooler is only held in place by the rubber intake hoses with the clamps. The one that is on top, from the intercooler to the throttle body/intake manifold is easier so do them first. Using the Flat head screw driver or an 8 mm socket loosen the clamps holding the intake piping to the Intake manifold and intercooler. And leave it for now.

5.) This is a little tough to do, but its not impossible. You should be able to do it even if you have large hands. Using the flat head or 8 mm socket, loosen the clamp that holds the intake tube coming from the cold side of the turbo to the intercooler. This is located underneath the intercooler.