Category Archives: USDM

Antilock Brake System for Early Subaru Part 3:

Antilock Brake System for Early Subaru Part 3:

Damping Oscillations:

An additional benefit of this arrangement is that the mechanical valve damps out some of the unwanted oscillation in the brake pedal as the ABS pump runs. Because of this, the F valve used on the ABS-2SL system is no longer needed and has been eliminated from the circuit.
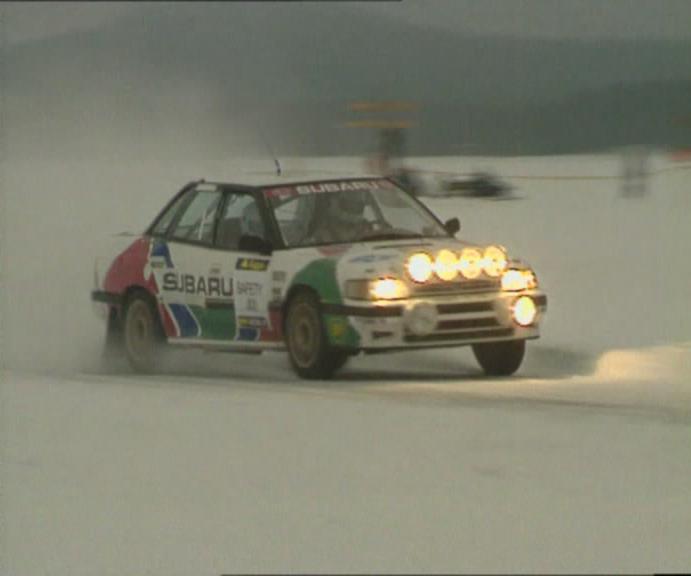
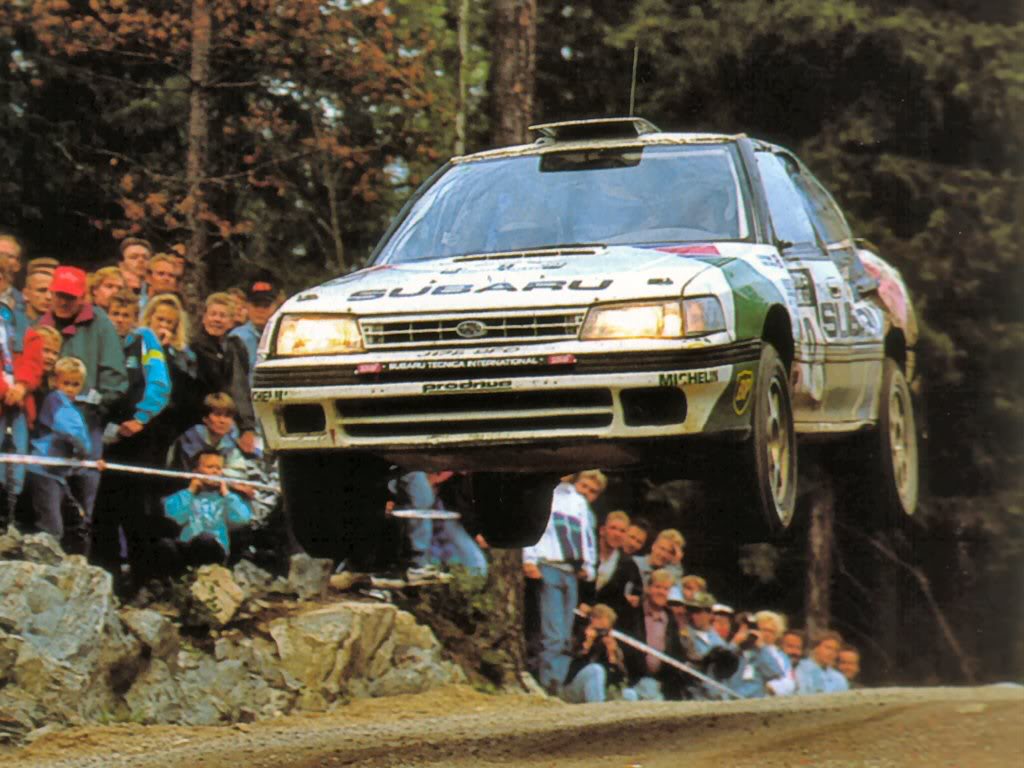
Antilock Brake System for Early Subaru Part 3: The Legacy RS rally car benefited greatly from having a superior ABS unit.


ABS Operating Modes:

To illustrate the four operating modes of this ABS system, we’ll assume that the ECU is operating only the solenoid for the right rear brake circuit. Recall that this circuit also affects the left rear brake circuit through the mechanical valve.

Normal Braking:

• Driver depressing pedal

• ECU passive (monitoring)

• Zero current in solenoid valves

• Pump off

• Plunger piston full right, pressure port open

• Master cylinder pressure supplied to all wheel cylinders

Pressure-Reduce:

• Pump pressure raising pedal

• ECU controlling solenoid valves and pump

• Full current in the right rear solenoid valve

• Pump running

• Plunger piston moves left, closes pressure port; system balances the two rear wheel cylinders.

Pressure-Hold:

• Pedal firm

• ECU controlling solenoid valves and pump

• Half current in the right rear solenoid valve

• Pump Off

• Pressure port closed

• Plunger piston is stationary, maintains reduced pressure in the right and left rear wheel circuits.

Alternator Replacement Subaru WRX/STi:

Alternator Replacement Subaru WRX/STi:

This is a step by step guide in replacing a alternator on a EJ series engine on a 02-07 Subaru WRX/STi.

Alternator Replacement Subaru WRX/STi: The Alternator cover needs to be removed.

1.) Open up the hood and disconnect the battery. Note: This is important. If you fail to disconnect the battery, you will be grounding out your tools and making all sort of popping noises and sparks. It can destroy your electrical system. So ensure that your battery is disconnected. It’s best to just remove the battery itself from the car.

2.) Take the plastic cover off that sits over the belts on the front of the EJ series engine. There are a couple of 10mm bolts. The bolts are pretty easy to get off. On your WRX and STi there is also some clips that will come off. The best way to get them off the cover is to use a needle nose pliers on the bottom side to undo the clips.

Subframe Lockbolt install for Subaru WRX/STi

Subframe Lockbolt install for Subaru WRX/STi:

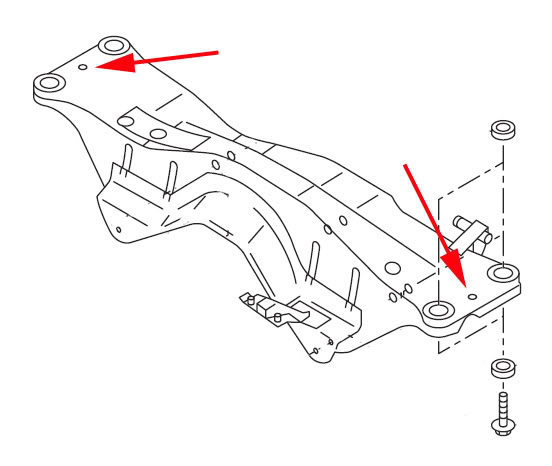
This is a step by step guide on installing a subframe lockbolt kit into the rear subframe of your 02-07 Subaru Impreza WRX/STi.

Subframe Lockbolt install for Subaru WRX/STi: Where these two red arrows point to are where the lockout bolts will be installed.

The rear subframe is isolated by rubber bushings which allow some movement relative the WRX/STi chassis. This movement can be the source of a rubbery feeling during launch and hard cornering. Enough rear subframe movement may alter the rear toe settings and affect handling during advanced driving. Depending on which lockbolt brand you use the adapter portion may not sit flush to the subframe surface, this is part of the design and is OK.

The lockbolt is not designed to stop vertical movement of the rear subframe. It is meant to limit movement in the horizontal plane. PB Blaster will soften the factory undercoating spray thus making a mess. WD-40 is not as aggressive so less black mess is made.

Antilock Brake System For Early Subaru Part 2:

Antilock Brake System for Early Subarus:

ABS Service And Brake Bleeding Procedures:

Antilock Brake System for Early Subarus: The first Subaru rally car the Legacy RS relied upon the bousch/nippon ABS units to perform on the WRC circuit.

Always check the fluid level of the master cylinder and bleed the wheel cylinders following the procedure listed in the service manual. When the HCU has been removed and/or replaced, the fluid must be drained. Replace the cone screws with bleed screws and attach a hose to drain fluid to a container.

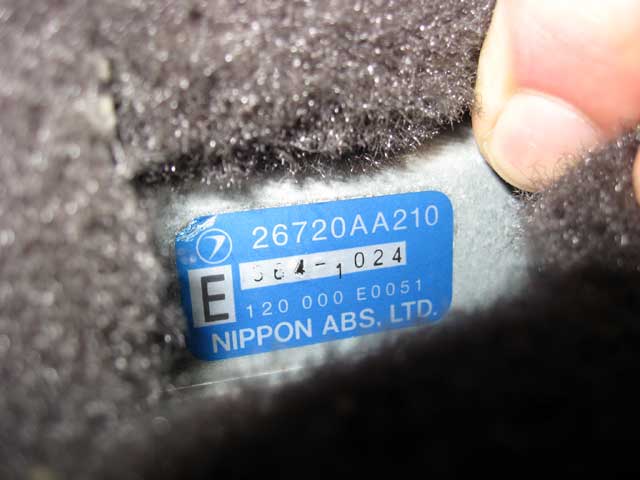
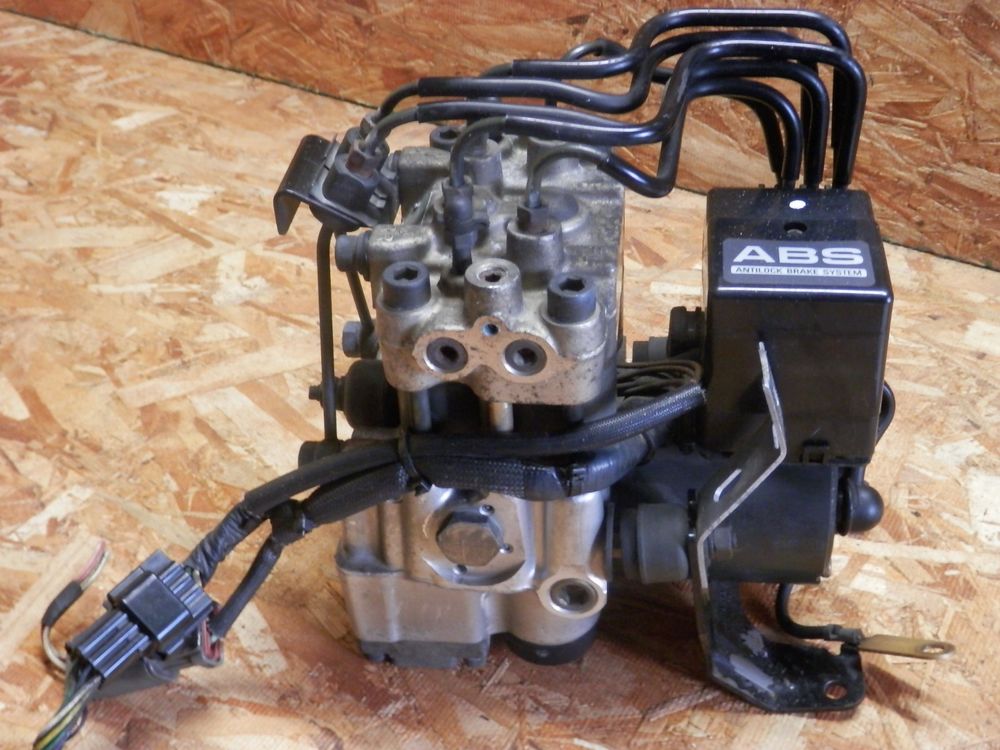
Antilock: ABS Service And Brake Bleeding Procedures: A early Subaru Nippon ABS unit ECU.

Use extreme care when performing this procedure to prevent damage to the internal components of the HCU. Do not apply AV signal for more than 5 seconds for each application. If no AV signal is received, it is not necessary to close bleed screw between brake pedal applications.

Antilock Brake System Notes and Cautions:

The ECU on early Subaru ABS systems can only display one trouble code–the lowest numbered code. Correct the fault indicated by the trouble code and recheck ECU for another code. Repeat the self-diagnostic procedure listed above, and the next highest code will be displayed. Refer to the appropriate model year service manual for the trouble codes and corrective actions. While the ABS ECU is in the fault mode, the ABS will go to fail-safe and remain passive under all braking conditions. The brake system will function as a conventional power-assisted system without ABS.

Maintenance:Subaru Periodic Maintenance Part 3:

Maintenance: Subaru Periodic Vehicle Maintenance Services:

Brake Fluid:

Many late model Subaru vehicles are equipped with ABS braking systems. The added complexity of these systems provides an additional incentive for following the recommended brake fluid replacement interval of 30 months or 30,000 miles. Brake fluid accumulates water and other contaminants over time. These contaminants can attack the internal parts of the brake system, compromising its performance and possibly causing brake failure.

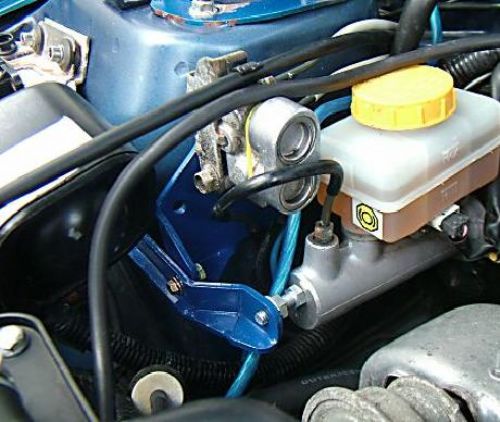
Maintenance: Subaru Periodic Vehicle Maintenance Services: Make sure to replace brake fluid at least every 30 months of 30,000 miles. At least once a year if the Subaru sees heavy track use.

The brake master cylinder has a semi-transparent reservoir, making it possible to check the fluid level without removing the reservoir cover. This minimizes the exposure to outside air and limits the amount of moisture that can reach the brake fluid. The fluid level will drop as the brake shoes and pads wear, but the reservoir is large enough to compensate for these changes. If the fluid level is very low, it’s a sure sign the brake pads or shoes are nearly worn out, or there is a leak in the brake system.

Note: When the brake fluid level in the reservoir tank is lower than the specified limit, the brake fluid warning light in the combination meter will come on.

Subaru warns against mixing brake fluids from different manufacturers. Doing so may degrade the quality of the fluid. Only DOT 3 or 4 brake fluid should be used in any Subaru vehicle preferably Subaru brake fluid if you are not going to do a track day build. Consult the service manual for vehicle specific brake bleeding procedures.

Subaru OEM Brake Fluid:

Subaru SOA868V9220 Brake Fluid – 1 Pint

Antilock Brake System for Early Subaru Part 1:

Antilock Brake System for Early Subarus:

A variety of antilock brake system (ABS) have been installed in Subaru vehicles since the first systems were installed in the 1990 Legacy.  In the sections that follow, we’ll give you a brief overview of each system and explain proper diagnostic techniques.

Antilock Brake System for Early Subarus: A Subaru SVX ABS system.

Antilock Brake System for Early Subarus:

Early Subaru Antilock Brake Systems:

The original Subaru Legacy Antilock Brake System (ABS) was licensed by Bosch and manufactured by Nippon ABS, Ltd. The system electronically controls brake fluid pressure supplied to the brake system. This control helps to prevent “wheel lockup” during braking on slippery surfaces and emergency situations. The system includes a fail-safe feature, which indicates a malfunction by illuminating the warning lamp. The system is then returned to a conventional power brake system. The four channel system provides accurate individual wheelspeed control and improves the directional stability of the vehicle during braking.

Antilock Brake System (ABS) Components

• Tone wheels (4)

• Speed sensors (4)

• Electronic control unit (ECU)

• Hydraulic control unit (HCU)

• G sensor (manual transmission models)

• Warning lamp

A tone wheel is attached to each wheel hub and rotates at the same speed as the hub. The magnetic speed sensor is mounted in the axle housing. The notched tone wheel acts as a reluctor which modulates the magnetic field of the speed sensor. The tone wheels are individually replaceable.

The speed sensor provides an alternating voltage signal to the ECU. The alternating voltage and frequency corresponds to wheelspeed.

Maintenance:Subaru Periodic Maintenance Part 2:

Maintenance: Subaru Periodic Vehicle Maintenance Services:

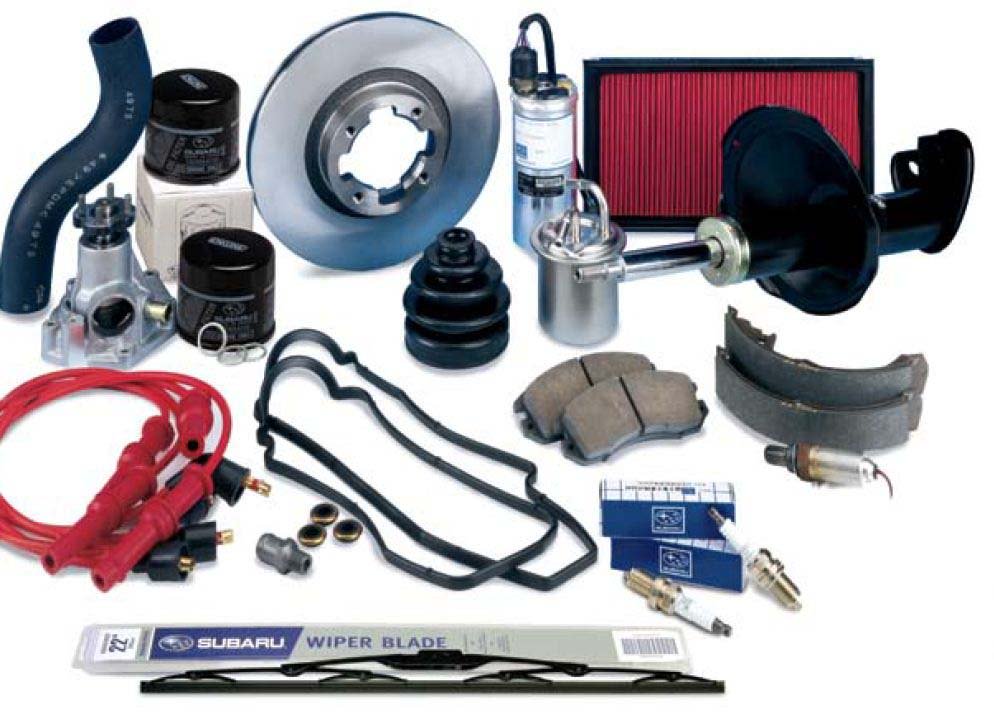
Maintenance: Subaru Periodic Vehicle Maintenance Services: Often the best value and best parts come from Subaru themselves and often aftermarket replacement parts will be of substandard quality.

Fuel Filter and Fuel Lines:

There’s no easy way to check the inside of a fuel filter for dirt or other contamination buildup. That’s why a 30 month or 30,000 mile replacement interval is prescribed. If the customer happens to buy a tank-load of bad gasoline before reaching this interval, it will be necessary to replace the fuel filter ahead of time. There’s no way to clean the filter—replacement is the only option. Remove the battery negative cable before you begin work on the fuel filter. Remember gasoline is a very flammable substance.

The fuel filter is just one small part of the fuel system. The fuel system includes many sections of steel and rubber fuel line that run the length of the vehicle several times. The fuel pump, fuel tank, and fuel pressure regulator are just a few of the other parts of the fuel system. While you’re replacing the fuel filter, don’t forget to check the condition of the rest of the fuel system.

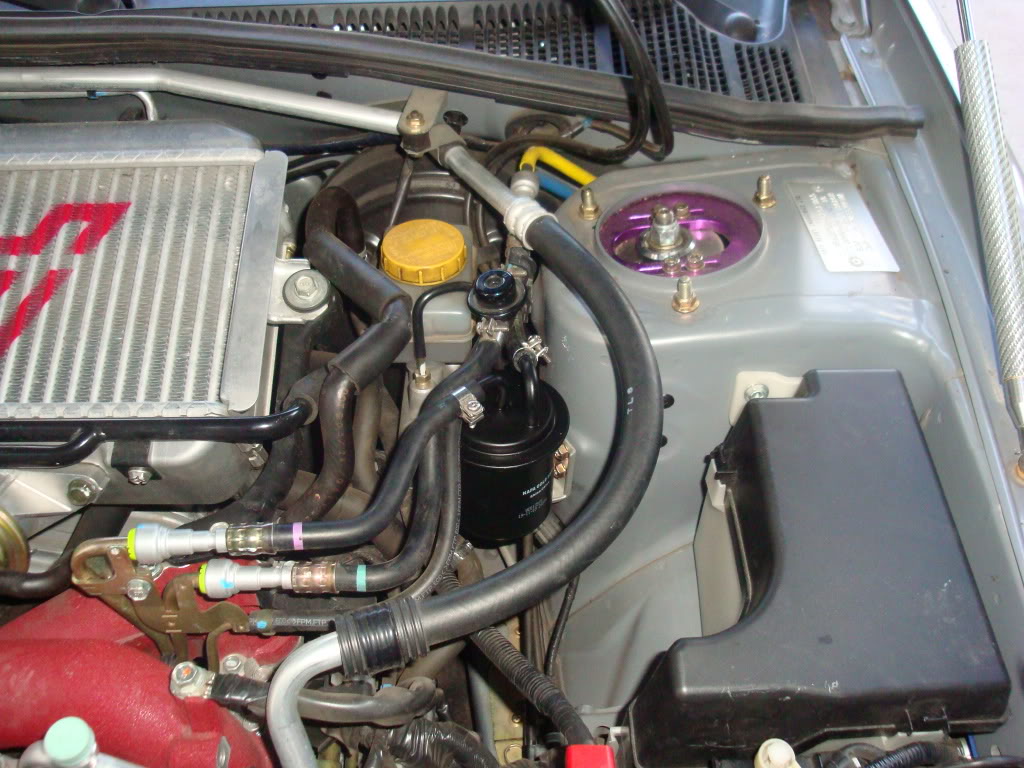
Maintenance: Subaru Periodic Vehicle Maintenance Services: Pictured is a Subaru STi fuel system. Making sure your filter is in good condition and is replaced regularly will prevent problems from occurring.

If any of the rubber hoses (especially the ones that were opened up to replace the filter) look damaged or frayed, they must be replaced before they can cause any further damage. Weak fuel hose clamps should be replaced, and the new ones must be properly positioned and tightened to specification.


Subaru 42072PA010 Fuel Filter

JDM Automatic Intercooler STi Switch Install:

JDM Automatic Intercooler STi Switch Install:

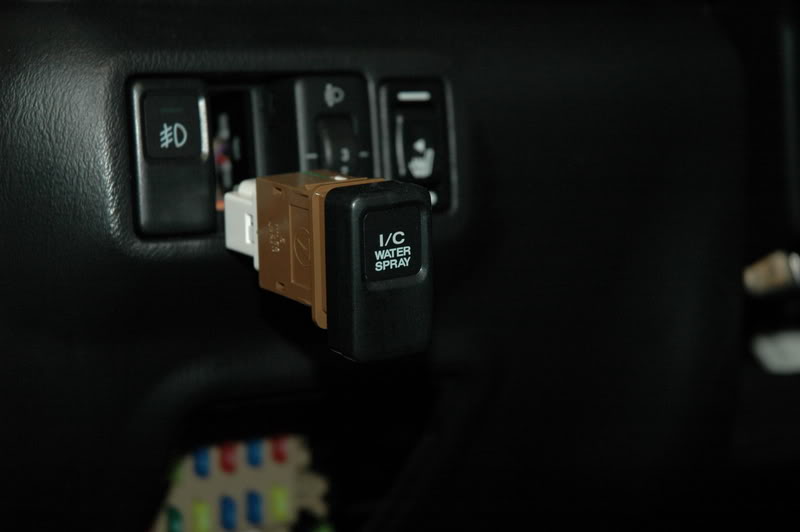
Here is the step by step guide to installing the JDM Automatic Intercooler STi switch. For those of you wondering the advantage of upgrading to the JDM automatic intercooler switch is that it essentially works as a on/off switch for the STi intercooler sprayer. So there is no more constant pushing of the sprayer button. Push the button once to turn it on, and again to turn it off. However, it will empty out your intercooler sprayer tank very quickly if you keep it on.

Here is the switch we are going to be installed:

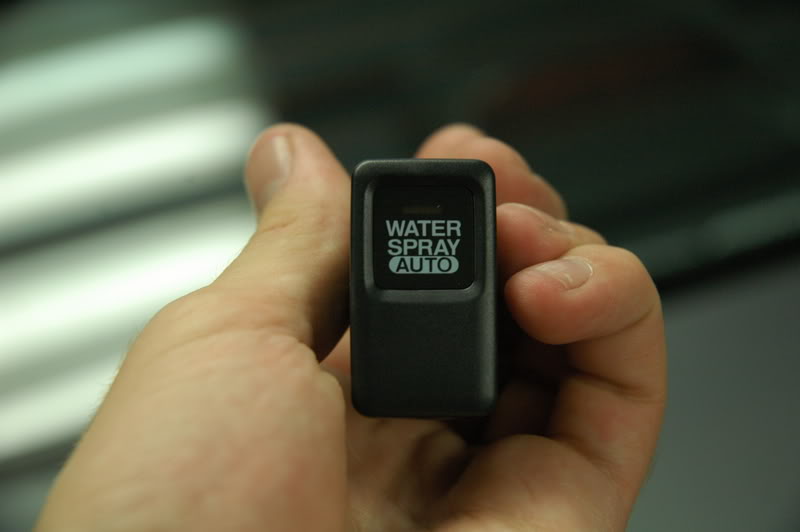
JDM Automatic Intercooler Switch: The JDM intercooler switch that you will be installing.

1.) Pop out the fuse box panel. The fuse box panel is located underneath and to the left of the steering wheel.

2.) Use your fingers to depress the tab on the button of the button to pop it out.

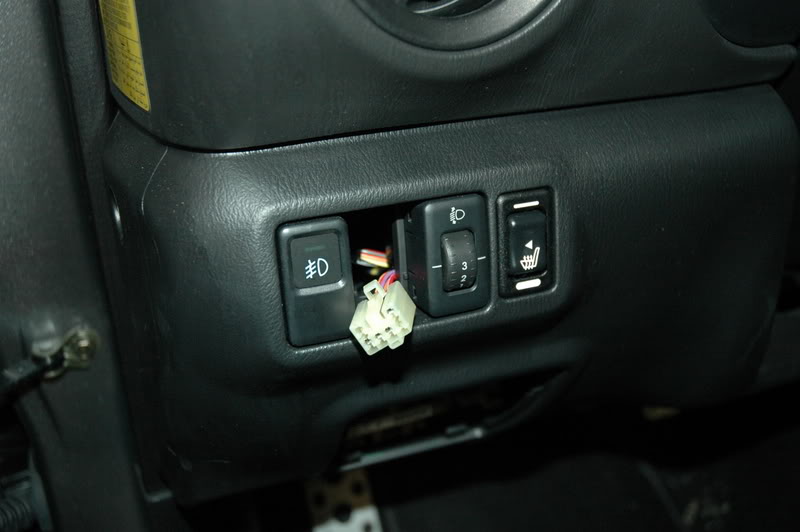
JDM Automatic Intercooler Switch: The USDM stock STi switch that you will be removing.

3.) Pull the switch out of the dash.

4.) Depress the tab on the back of the plug to remove the switch.

JDM Automatic Intercooler Switch: USDM STi intercooler switch removed. Get ready to install the JDM switch now.