Clutch Pedal Sticking Subaru:
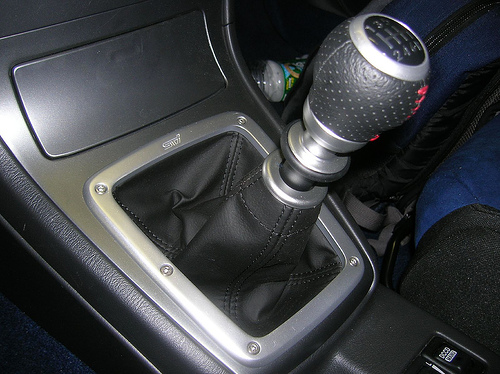
If you encounter a clutch pedal not returning completely after being engaged, or if there is a spongy or light clutch pedal feel while shifting, the following repair method should be followed.
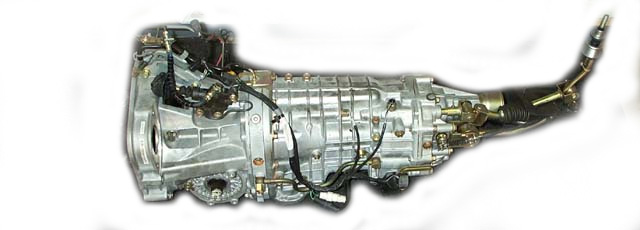
This condition may affect certain manual transmission vehicles with a hydraulic clutch system under certain weather conditions.The affected manual transmission Subaru models are as follows:
1995-2002 Legacy
1997-2007 2.5L Impreza
1998-2003 Forester
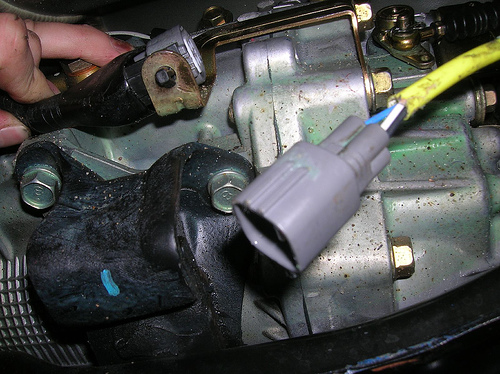
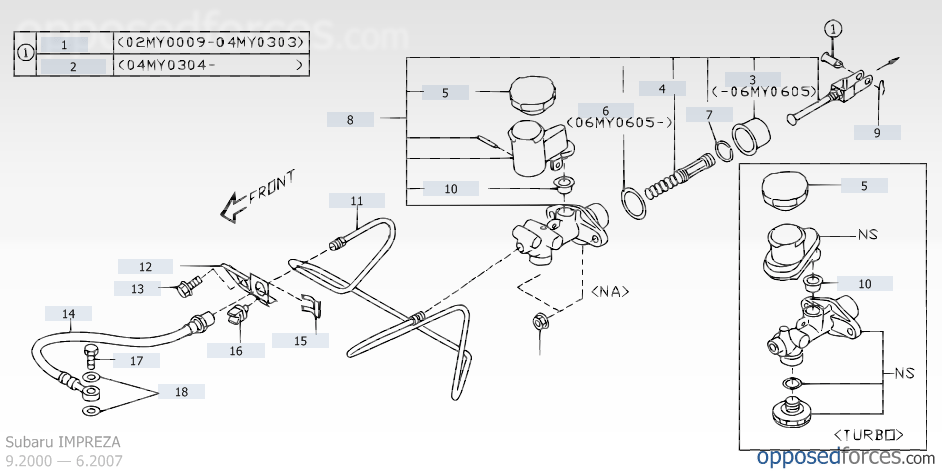
To correct this condition you must replace the parts in the chart that match your vehicle using the following procedures:
Replacement Clutch Parts:
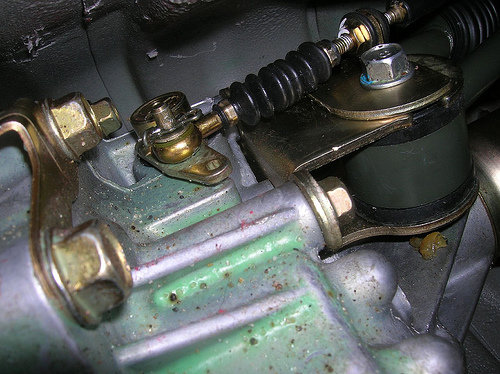
- 2002 WRX (5MT) Clutch Operating Cylinder: Do not replace Clutch Hose: 37251AA003 Gaskets for Hose: 114130151 X 2
- Legacy (5MT) Clutch Operating Cylinder: 30620AA042 Clutch Hose: 37251AC001 Gaskets for Hose: 114130151 X 2
- Impreza (5MT) Clutch Operating Cylinder: 30620AA042 Clutch Hose: 37251AC001 Gaskets for Hose: 114130151 X 2
- Forester (5MT) Clutch Operating Cylinder: 30620AA042 Clutch Hose: 37251AC001 Gaskets for Hose: 114130151 X 2