Category Archives: EJ257

SVX POWER STEERING SYSTEMS PART 4

SVX Power Steering Systems on Early Subarus Part 4:

There are two model-specific systems available on SVX vehicles:

SVX Power Steering Systems on Early Subarus Part 4: The engine speed sensitive, or conventional belt driven hydraulic pump and pinion type steering system is standard equipment on the SVX.

• The engine speed sensitive, or conventional belt driven hydraulic pump and pinion type steering system is standard equipment on the SVX.

• An SVX equipped with the SVX Touring Package uses an optional vehicle speed-sensitive system. This system provides normal power assist at low vehicle speeds for reduced driver steering effort, and reduced steering assist at increased vehicle speeds for increased road feel and improved engine operating efficiency. Both systems have many similarities with the Legacy system.

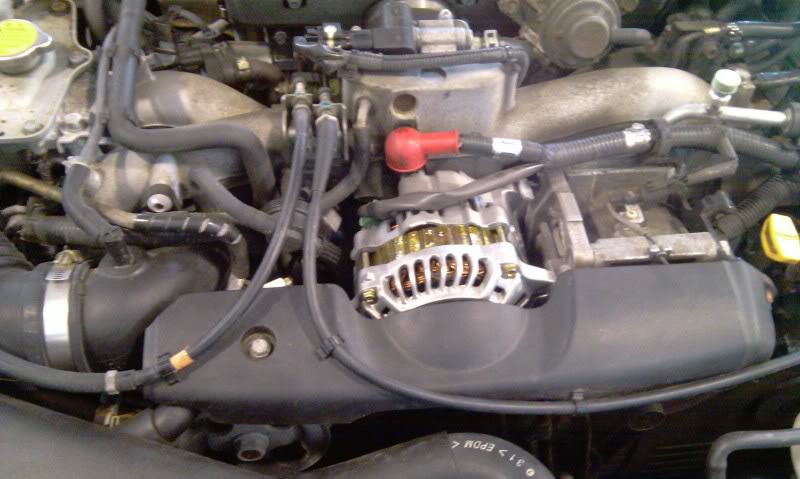
SVX Power Steering Pump

Both systems share many similarities to existing Subaru steering systems. Both use a belt driven power steering pump, although the pump housings are different in appearance.

Rack

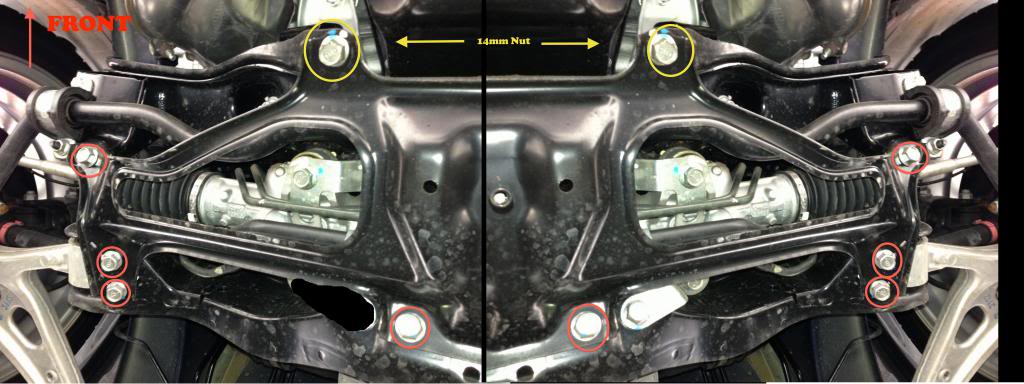
A conventional power assisted rack with the standard Subaru lines and hoses is used by the standard system.

Oil Cooler

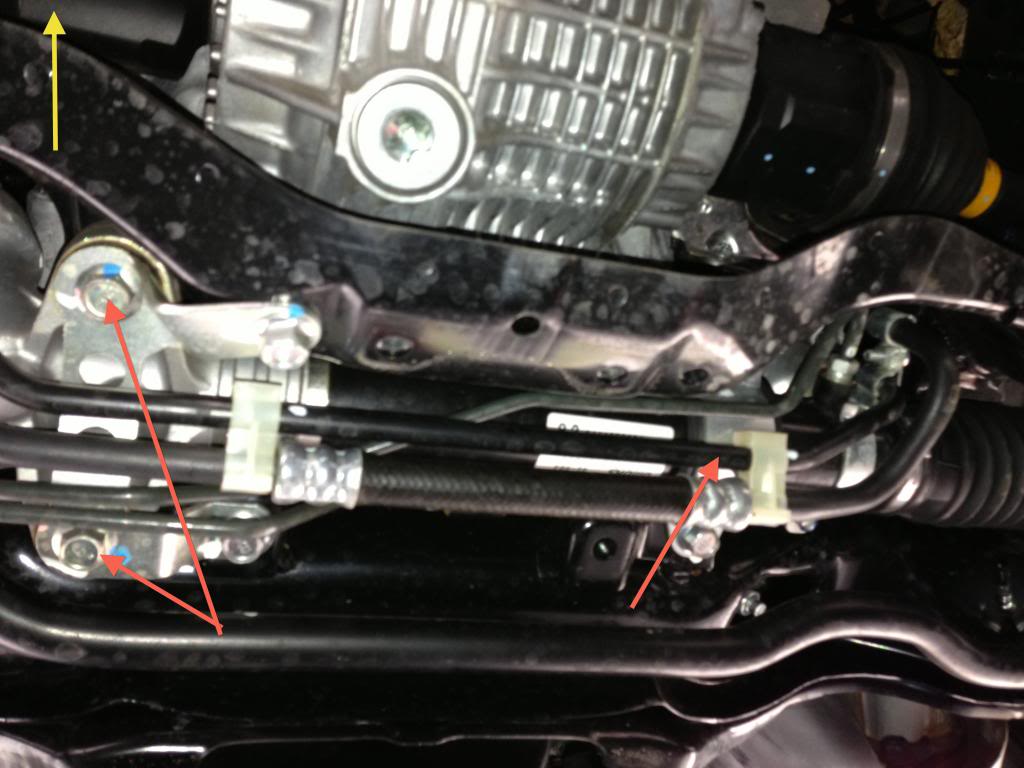
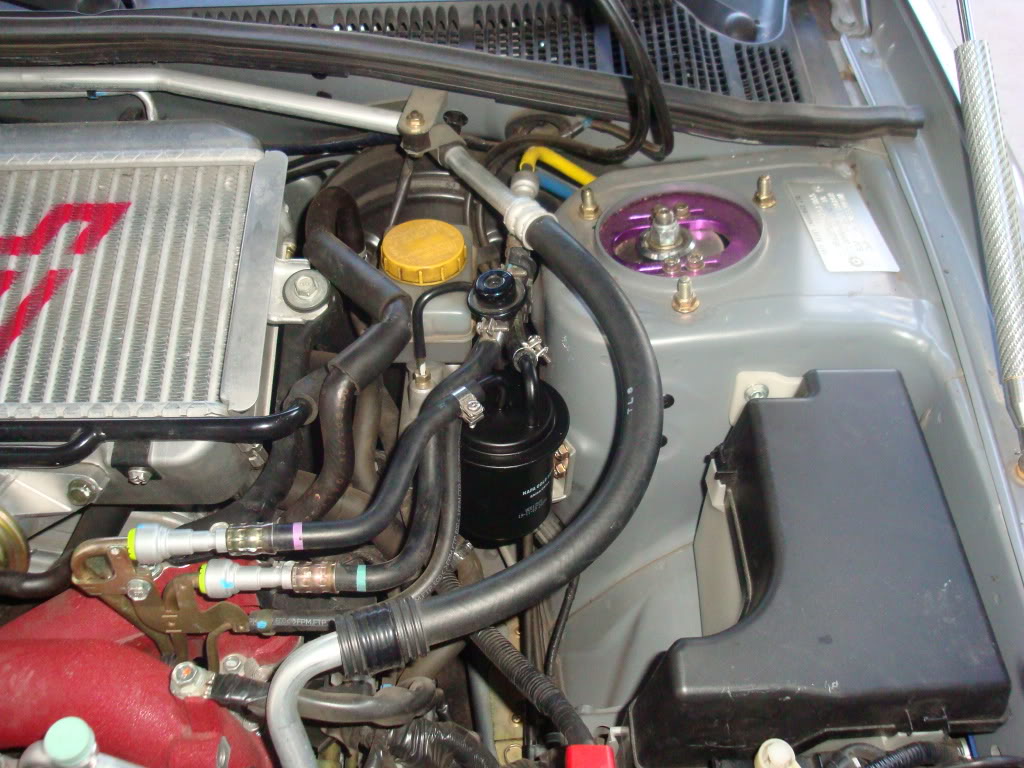
An oil cooler pipe has been added to both SVX systems. It is located in front of the radiator on the return side of the system.

Rubber Coupler

A steering shaft rubber coupler is used by both SVX systems to reduce road noise and vibration.

SVX Power Steering Pressure Switch

A power steering pressure switch is located on the outlet side of the pump. The switch monitors increased engine load during idle speed steering. The switch provides an input to the MPFI ECU, which prevents stalling by raising the engine idle speed. There is not an additional trouble code for the MPFI ECU.

Steering Rack Bushings Install on a 08+ STi

Steering Rack Bushings Install on a 08+ STi

This is a step by step guide on installing steering rack bushings (whiteline) on a 08+ WRX/STi. This needs to be done the right way and all the bolts NEED to be torqued with a torque wrench to factory spec for the car to be in a safe operating state.

1.) Remove the under tray. There are 2 12mm bolts towards the front, 1 12mm bolt on the rear, 2 clips on the rear. and 2 plastic pop-out clips on the sides near each wheel well.

2.) After removing the under tray you will need to remove 10 14mm bolts holding the cross member support brace (otherwise known as the jack plate) in place. The bolts that are to be removed are circled in red and yellow.

Note: The bolts circled in yellow are secured by nuts on the topside so you will need the 14mm wench as well. These bolts are torqued down pretty tight if they have never been removed before.

Steering Rack Bushings Install on a 08+ STi: The bolts circled in yellow are secured by nuts on the topside so you will need the 14mm wench as well.

3.) Once the cross member support is removed the steering rack will be exposed as pictured below. Note the location of the 3 bushings denoted by the red arrows.

Steering Rack Bushings Install on a 08+ STi: Note the location of the 3 bushings denoted by the red arrows.

Overboost and Underboost Subaru common causes:

Overboost and Underboost Subaru common causes:

The common causes for overboost or underboost: This is a basic guide on the possible causes and some solutions to those causes of a overboost or a underboost situation in a turbocharged subaru.

Overboost and Underboost Subaru common causes: This is the layout of the stock turbo subaru boost control system.
Overboost and Underboost Subaru common causes: Turbo Subarus: Common Overboost and Underboost issues with Turbo Subarus.

Overboost:

1.) Decat + High flow induction –  Cure: Reduction of the solenoid duty cycle or alteration of restrictor size will help return boost output to its normal level.

2.) Split, poor fitting, or disconnected pipes – Cure: Replace or refit pipes, the pipes that will cause this issue are between the wastegate actuator, solenoid, and the turbo. Including up to the restrictor on the return pipe of the 3 port solenoid.

3.) Manual Boost Controller – Electronic Boost Controller set too high – Cure: Don’t be so greedy and back the boost duty/adjuster off to a safe level.

4.) Restrictor Pill not fitted / size incorrect – Cure:  Ensure restrictor pill is fitted (3 port) if so on a 3 port reduce the restrictor size and on the 2 port increase the restrictor size to reduce the boost to a safe level.

5.) Clogged 3-port solenoid: It is possible that the flow of air through the 3-port solenoid could be restricted between the turbo outlet port and the wastegate actuator port if the solenoid is very dirty (usually oil vapor from the intake system), this allows the wastegate to remain clamped shut longer than it should be causing a potential overboost situation. Cure: Clean with carb or clutch/brake cleaner.

6.)Loss of solenoid funcation: Although this is not bverboost it shows itself with very simmilar symptoms, its an interesting scenario. It is possible for the solenoid to fail or even stick shut while under boost. This will result in a rapid reduction of boost pressure to wastegate pressure approx 0.5 BAR. So if you were running at full boost 1.0 BAR for example and the solenoid was to fail shut it would feel just like overboost as the wastegate rapidly opens due to the solenoid blocking off the spill from the wastegate. Cure: Either clean the solenoid with carb or clutch+brake cleaner or replace the solenoid.

Wastegate and Boost Creep FAQ

Wastegate and Boost Creep FAQ

What is Boost Creep?

Boost creep is a situation where your wastegate port is not large enough to allow the exhaust gas to bypass the turbo. What happens is the exhaust gas will choke the wastegate port preventing further gas flow through the port. Then, the exhaust gas has to take the path of least resistance which is through the turbine of the turbo. This will spool the turbo ‘uncontrolled’ beyond your normal controlled max boost level.

Wastegate and Boost Creep FAQ: A stock Subaru turbo with the internal wastegate and stock actuator.
Wastegate and Boost Creep FAQ: A stock Subaru turbo.

The turbo will be spooling past wastegate spring rate pressure even though the wastegate is fully open thus it is uncontrolled. The best way to check for boost creep is to connect the turbo outlet port directly to the wastegate actuator port and go for a drive. In 4th gear you should normally get a stable boost level of about 0.5 BAR, if you have boost creep the boost will hit 0.5 BAR and will continue to rise with rpm until you either back off or hit overboost fuel cut.

Boost creep should only be present on a turbo that has very little restriction. For example a fully de-catted and high flow induction. It’s been found that the fast spooling IHI VF35 is very prone to boost creep. The cure is to remove the turbo and enlarge the wastegate port. Then, fit a stronger actuator 0.75 BAR the reason for this is because you have made the wastegate port larger. The effective size of the wastegate plate acting against the exhaust gas flow is larger which allows the exhaust gas excert more force on the wastegate plate.

This in effect weakens the effectiveness of the actuator. Before the increase in size of your wastegate port the actuator would open at 0.5 BAR, after the increase the actuator would open earlier at 0.3–0.4 BAR. After these changes are made to the turbo either a boost controller or a remap (to adjust solenoid duty cycle) should be sought to control the boost to a safe level.

Boost control systems on a Turbo Subaru:

Boost control system on a Turbo Subaru:

This guide covers most  boost related issues including a short introduction on how your boost systems work. This information is based on the Classic Impreza’s, but will cover the newer WRX/STi cars to a certain extent.

Safe boost levels:

When modding your car without mapping (full de-cat and high flow induction etc) you increase the efficiency of your turbo which could result in engine damage due to lean running at high rpm / max boost. To prevent damage always try and keep your boost level as close to standard as possible until your car is mapped for the increase in boost pressure.

TLDR: Don’t screw with your boost levels until you get the car tuned by someone who knows what they are doing. Otherwise you’ll probably end up with a blown up Subaru.

Boost Issues:

Is the boost control system connected correctly:

Rear strut brace install on Subaru WRX/STi 08+:

Rear strut brace install on Subaru WRX/STi 08+:

This is a step by step guide on how to install a rear strut brace in a 2008+ Subaru WRX/STi. Installing a rear strut brace on a 2008+ WRX/STi is more much more involved than installing a front brace. The chassis is significantly different than the new-age 02-07 Subaru Impreza. The need to cut clearances into the floor for the left and right brackets increases the difficulty for this install.

1.) Only work on one strut tower at a time. Only loosen one set of nuts at a time, and do not put the car up on lifts, jacks, or anything else that lifts the tires off the ground. All of these precautions are to minimize changes to the alignment while working on the installation.

2.) Loosen the left and right hinges on the rear strut brace using the 17mm socket and the 8mm allen head wrench. You want to be able to move the brace around as you attach each side bracket to the car’s strut towers.

3.) Remove the hatch floor and set it aside.

Rear strut brace install on Subaru WRX/STi 08+: Remove the rear floor.

4.) Remove the left and right panels from the wheel covering so that you’ll have access to the tops of the strut towers. Working your finger tips under the edge of the panel and carefully working my way around the edges while pulling away from the wheel cover worked best without requiring any special tools. It also helped avoid scratching the plastic.

Rear strut brace install on Subaru WRX/STi 08+: Remove these panels both both sides with your hands. If you can't do that gently use a screwdriver to remove.
Rear strut brace install on Subaru WRX/STi 08+: Remove these panels both both sides with your hands. If you can’t do that gently use a screwdriver to remove.

Alternator Replacement Subaru WRX/STi:

Alternator Replacement Subaru WRX/STi:

This is a step by step guide in replacing a alternator on a EJ series engine on a 02-07 Subaru WRX/STi.

Alternator Replacement Subaru WRX/STi: The Alternator cover needs to be removed.

1.) Open up the hood and disconnect the battery. Note: This is important. If you fail to disconnect the battery, you will be grounding out your tools and making all sort of popping noises and sparks. It can destroy your electrical system. So ensure that your battery is disconnected. It’s best to just remove the battery itself from the car.

2.) Take the plastic cover off that sits over the belts on the front of the EJ series engine. There are a couple of 10mm bolts. The bolts are pretty easy to get off. On your WRX and STi there is also some clips that will come off. The best way to get them off the cover is to use a needle nose pliers on the bottom side to undo the clips.

Maintenance:Subaru Periodic Maintenance Part 2:

Maintenance: Subaru Periodic Vehicle Maintenance Services:

Maintenance: Subaru Periodic Vehicle Maintenance Services: Often the best value and best parts come from Subaru themselves and often aftermarket replacement parts will be of substandard quality.

Fuel Filter and Fuel Lines:

There’s no easy way to check the inside of a fuel filter for dirt or other contamination buildup. That’s why a 30 month or 30,000 mile replacement interval is prescribed. If the customer happens to buy a tank-load of bad gasoline before reaching this interval, it will be necessary to replace the fuel filter ahead of time. There’s no way to clean the filter—replacement is the only option. Remove the battery negative cable before you begin work on the fuel filter. Remember gasoline is a very flammable substance.

The fuel filter is just one small part of the fuel system. The fuel system includes many sections of steel and rubber fuel line that run the length of the vehicle several times. The fuel pump, fuel tank, and fuel pressure regulator are just a few of the other parts of the fuel system. While you’re replacing the fuel filter, don’t forget to check the condition of the rest of the fuel system.

Maintenance: Subaru Periodic Vehicle Maintenance Services: Pictured is a Subaru STi fuel system. Making sure your filter is in good condition and is replaced regularly will prevent problems from occurring.

If any of the rubber hoses (especially the ones that were opened up to replace the filter) look damaged or frayed, they must be replaced before they can cause any further damage. Weak fuel hose clamps should be replaced, and the new ones must be properly positioned and tightened to specification.


Subaru 42072PA010 Fuel Filter