Tag Archives: Chassis

Rear strut brace install on Subaru WRX/STi 08+:

Rear strut brace install on Subaru WRX/STi 08+:

This is a step by step guide on how to install a rear strut brace in a 2008+ Subaru WRX/STi. Installing a rear strut brace on a 2008+ WRX/STi is more much more involved than installing a front brace. The chassis is significantly different than the new-age 02-07 Subaru Impreza. The need to cut clearances into the floor for the left and right brackets increases the difficulty for this install.

1.) Only work on one strut tower at a time. Only loosen one set of nuts at a time, and do not put the car up on lifts, jacks, or anything else that lifts the tires off the ground. All of these precautions are to minimize changes to the alignment while working on the installation.

2.) Loosen the left and right hinges on the rear strut brace using the 17mm socket and the 8mm allen head wrench. You want to be able to move the brace around as you attach each side bracket to the car’s strut towers.

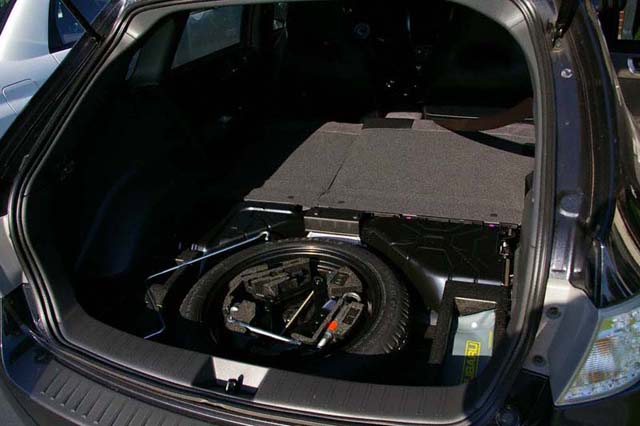
3.) Remove the hatch floor and set it aside.

Rear strut brace install on Subaru WRX/STi 08+: Remove the rear floor.

4.) Remove the left and right panels from the wheel covering so that you’ll have access to the tops of the strut towers. Working your finger tips under the edge of the panel and carefully working my way around the edges while pulling away from the wheel cover worked best without requiring any special tools. It also helped avoid scratching the plastic.

Rear strut brace install on Subaru WRX/STi 08+: Remove these panels both both sides with your hands. If you can't do that gently use a screwdriver to remove.
Rear strut brace install on Subaru WRX/STi 08+: Remove these panels both both sides with your hands. If you can’t do that gently use a screwdriver to remove.

Fender Brace GTSpec Install on GR Subaru WRX/STi

Fender Brace GTSpec Install on GR Subaru WRX/STi:


This fender brace install was performed on ’11 Subaru Impreza WRX STi 5 Door with GTSpec Fender Braces.

Required Tools:

Socket wrench with multiple extenders.
10mm, 12mm, and 14mm sockets
12mm wrench
Impact Driver (Not required but makes things easier)
Tire iron
Floor Jack/Jack stands
Screw Driver
Pliers/Cutting pliers
2 Zip ties
Gloves (Not required but always nice to have)
PB Blaster

Passenger side

I started off on the passenger side. Get the front end on jack stands. Also put chalks on the rear tires for added safety.

Now lets start by removing your tire. (This is where having an impact wrench makes things a breeze!)

*Note* If you have Rally Armor mudflaps you will need to remove those as well.

You will need to remove the fender liner and fender panel as well as the first three retaining clips under the side skirt.

A sample of a few clips that need to be removed:

Subaru STi Inner fender removal.

Fender liner and fender cover removed:

Subaru STi GR Inner fender removed.

*Note* I did not remove by front bumper however i did later on. I would suggest you go ahead and remove the front bumper to save yourself some time later on down the road. It makes things easier!

Now remove the 3 bolts in the engine bay and the one retaining clip on the headlight fixture.

Fender removal Subaru STi GR: Now remove the 3 bolts in the engine bay and the one retaining clip on the headlight fixture.

Remove the bolt behind the front bumper. (If the bumper is off it makes this next part very easy!)

Fender Removal Subaru STi GR: Remove the bolt behind the front bumper. (If the bumper is off it makes this next part very easy!)

Unscrew the black plastic bracket that secures the fender to the front bumper. (Again much easier to do with bumper off). I’d also suggest you remove the black bracket all together. This will come in handy when you reassemble the front fender.

There are two bolts under the side trim. This is where removing the 3rd retaining clip from under neath the side trim gives you a bit more wiggle room.

There are two bolts under the side trim. This is where removing the 3rd retaining clip from under neath the side trim gives you a bit more wiggle room.