Tag Archives: Drivetrain

Antilock Brake System For Early Subaru Part 2:

Antilock Brake System for Early Subarus:

ABS Service And Brake Bleeding Procedures:
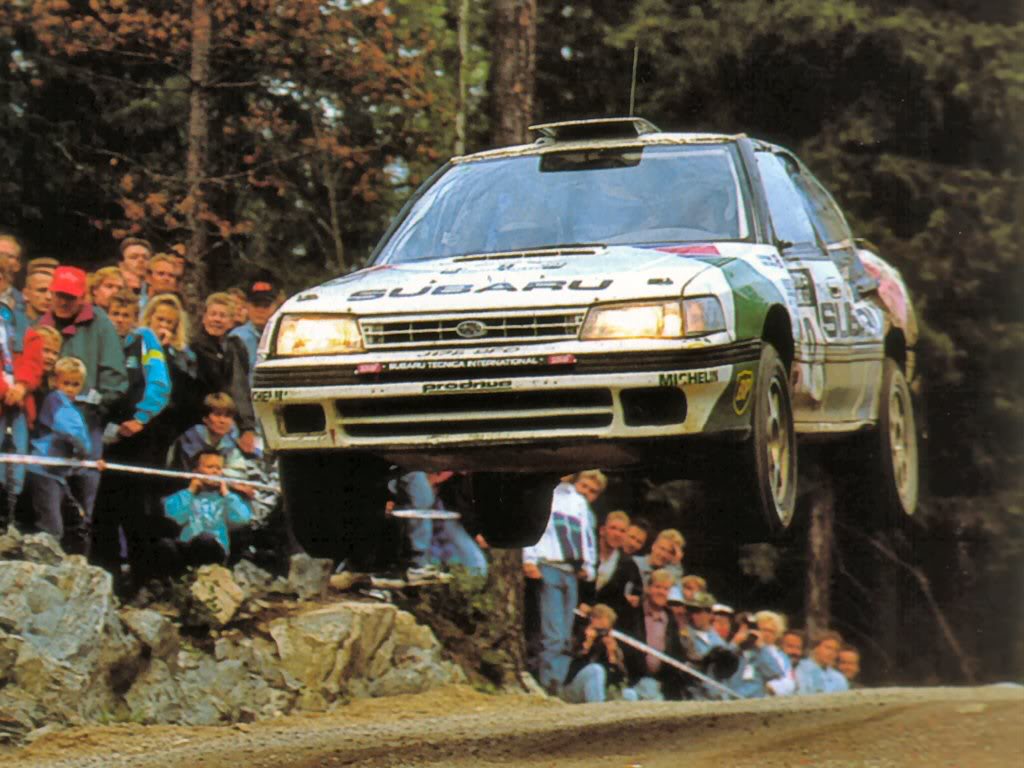
Antilock Brake System for Early Subarus: The first Subaru rally car the Legacy RS relied upon the bousch/nippon ABS units to perform on the WRC circuit.

Always check the fluid level of the master cylinder and bleed the wheel cylinders following the procedure listed in the service manual. When the HCU has been removed and/or replaced, the fluid must be drained. Replace the cone screws with bleed screws and attach a hose to drain fluid to a container.
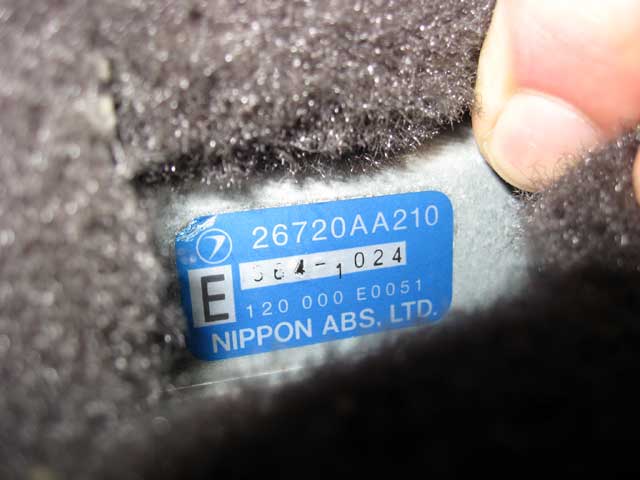
Antilock: ABS Service And Brake Bleeding Procedures: A early Subaru Nippon ABS unit ECU.

Use extreme care when performing this procedure to prevent damage to the internal components of the HCU. Do not apply AV signal for more than 5 seconds for each application. If no AV signal is received, it is not necessary to close bleed screw between brake pedal applications.

Antilock Brake System Notes and Cautions:

The ECU on early Subaru ABS systems can only display one trouble code–the lowest numbered code. Correct the fault indicated by the trouble code and recheck ECU for another code. Repeat the self-diagnostic procedure listed above, and the next highest code will be displayed. Refer to the appropriate model year service manual for the trouble codes and corrective actions. While the ABS ECU is in the fault mode, the ABS will go to fail-safe and remain passive under all braking conditions. The brake system will function as a conventional power-assisted system without ABS.

Pitch Stop Install on Subaru WRX/STi

Pitch Stop Mount Install on Subaru WRX/STi:

This is a step by step guide on how to install an aftermarket Pitch Stop Mount to your 02-07 Subaru WRX or STi.

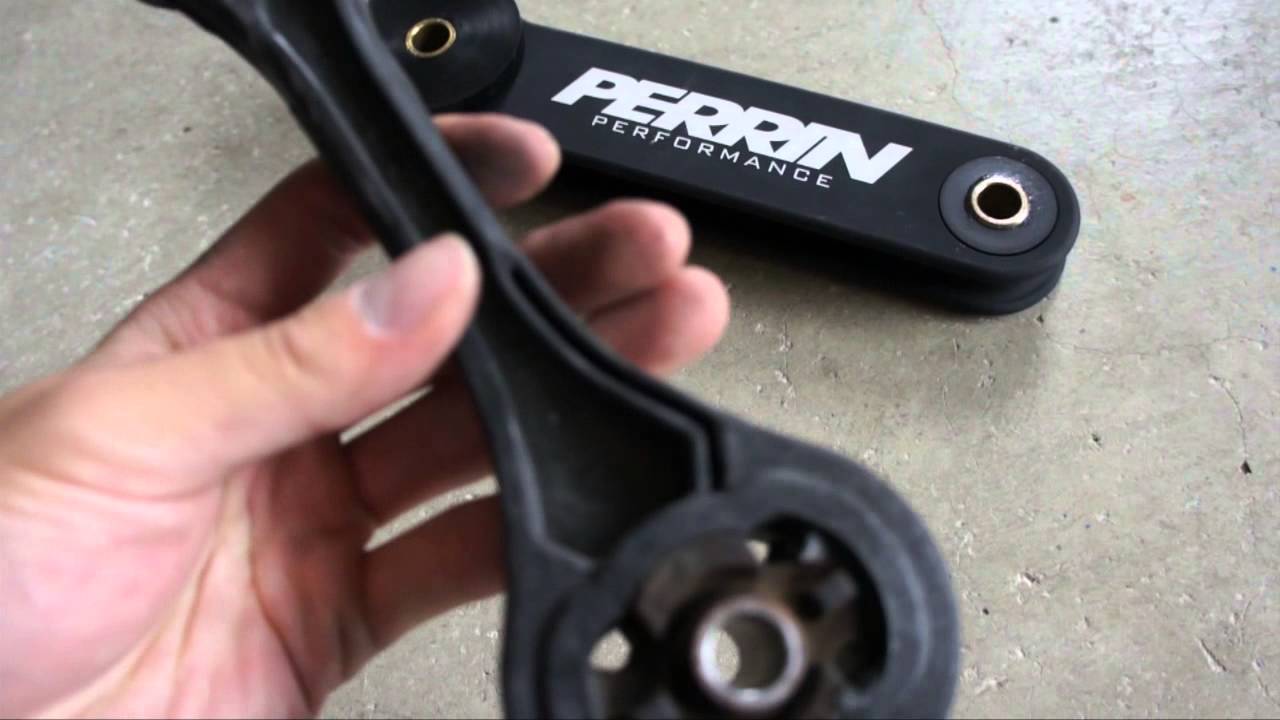
Pitch Stop Mount: In the foreground a oem plastic pitch mount and in the background a Perrin Performance pitch stop mount.

1.) Locate and remove the three 10 mm Gold colored bolts that secure the black vacuum lines to the bottom of the intercooler. You will need a shallow socket as it gets tight around the BOV. Careful not to drop them into the engine bay, it will be a PITA to find and retrieve them.

2.) Locate and remove the two 12 mm bolts that secure the recirculating BOV to the bottom of the intercooler. Again be careful not to drop these into the engine bay as it’s a jungle down there and it will be a PITA to retrieve them.

3.) Locate and remove the two 12 mm bolts that secure the intercooler to the engine. These are located one on each side of the intercooler.

4.) Now the intercooler is only held in place by the rubber intake hoses with the clamps. The one that is on top, from the intercooler to the throttle body/intake manifold is easier so do them first. Using the Flat head screw driver or an 8 mm socket loosen the clamps holding the intake piping to the Intake manifold and intercooler. And leave it for now.

5.) This is a little tough to do, but its not impossible. You should be able to do it even if you have large hands. Using the flat head or 8 mm socket, loosen the clamp that holds the intake tube coming from the cold side of the turbo to the intercooler. This is located underneath the intercooler.

Rear Differential Bushings install Subaru WRX/STi

Rear Differential Bushings install Subaru WRX/STi:

This rear differential bushing install process took all of about an hour and a half. What you will need is:

Rear Diff Bushings:

Whiteline KDT905 Rear Differential Support Bushing

Whiteline W92835 Rear Differential Mount Bushing


I used a 3/8″ drive set
17mm Medium Depth socket
17mm Open ended Wrench
Swivel For socket (optional) i didnt need this
Torque Wrench (specs for all of these nuts and bolts are 51.6ft lbs)
Couple of screwdrivers or Pry bars ( i prefer Prybars)
C-clamp
Hammer (optional)
Transmission lift (to hold up the rear diff when the bolts are out, you will also need this to lower the diff down to get the outside bolts over the rear axles)

1.)
Get the vehicle in the air some how, this is easiest if you have access to a garage with a lift. Which i did that only costs about $2.00 an hour. Once its on the lift go ahead and locate the area with the bolts and make sure you unplug the rear diff sensor and ground.

2.)
Unbolt the two outer nuts, you will notice that the bolt goes in from the axle side. Make sure to put them back the same way.

3.)

Now that the outside bolts are out, what you need to do it take the nuts that you have taken off from the outside and thread them over the two inner bolts that hold on the rear diff. What this does is make it able for you to take out the bolt that is directly screwed into the diff. Make sure you thread it all the way, and once they are tight, using your open ended wrench start to back off the inner nut, and it might turn a little bit without the whole thing moving but thats ok, a few turns and the whole thing will break free. ( be carefull for the rear diff sensor)

4.)
Once you get the two studs holding the rear differential in place you should be able to let down your transmission stand a little bit to move the axles out of the way and pull the studs out of the outside two bushings.

Clutch replacement for a Subaru WRX/STi:

How to replace a Clutch for a GD Subaru:

This procedure was performed on a MY04 STi with some modifications which may or may not be relevant for the purposes of this How-To. This procedure is only ONE way of removing the transmission and is not meant to be the be-all method. This is a DIY on your driveway process only. If you have access to a lift, this would be the preferred and safest method.

Perform this procedure AT YOUR OWN RISK.

Clutch: STi Transmission
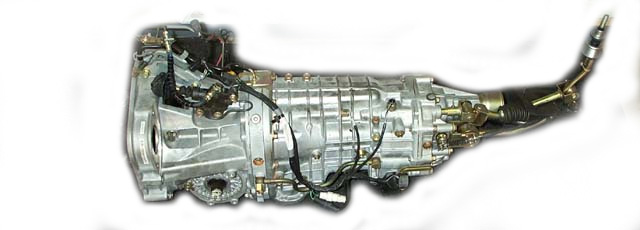
Clutch: This procedure allows you to remove the transmission from a Subaru STI for the purpose of gaining access to the clutch and flywheel system for inspection and or replacement

This procedure allows you to remove the transmission from a Subaru STI for the purpose of gaining access to the clutch and flywheel system for inspection and or replacement.

This procedure allows you to remove the transmission without the benefit of a lift and is meant as a DIY for the weekend warrior. This is by no means a simple or easy procedure and it requires a good deal of strength. IT IS RECOMMENDED YOU HAVE A FRIEND THERE TO HELP. You will need a second pair of hands at times.