Tag Archives: Upgrade

Oil pan removal and install on Subaru STi/WRX:

Oil pan removal Subaru STi/WRX:

This is a step by step guide on removing and re-installing a oil pan on your Subaru Impreza STi or WRX. This guide is also useful for installing a STi spec oil pan onto your WRX. This guide also is helpful if you are removing your stock oil pickup tube that is known to crack on the STi. I suggest purchasing a Killer B Motorsport Pickup Tube along with a brand new STi oil pan. Both can be purchased from down below from Amazon.

Brand new STi oil pan:

Subaru 11109AA131 Oil Pan

Killer B Motorsport Pickup Tube:

Killer B Motorsport Subaru Oil Pan Pickup Tube for EJ25 WRX/STI


Oil Pan Removal Steps:

1) Remove the plastic under tray from your engine. This is secured using a few bolts and plastic push clips.

2) Remove the plastic under trays from either side of the car, the long ones.
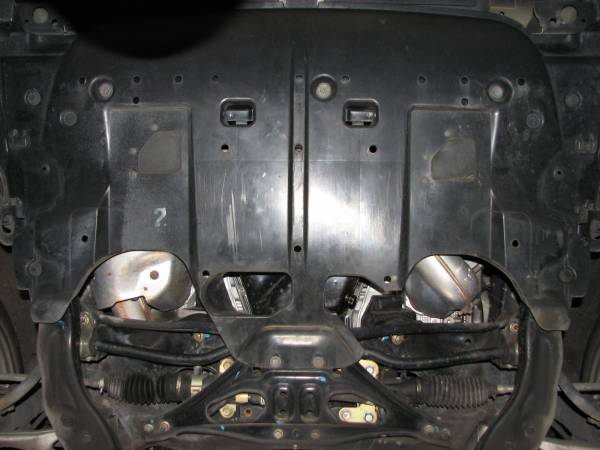
Oil pan removal and install: Remove plastic to gain access to the bottom of the engine.

3) Remove the jacking plate. This is held on by 2 12mm bolts with nuts in the front, 2 12mm bolts in the rear and 4 14mm nuts on the sides.

4) Remove your subframe. This is secured by a few 19mm bolts, 2 12mm bolts in front and 4 14mm bolts. I highly recommend soaking these all in your PB blaster and waiting 5 minutes. Check out some of my other posts for instuctions.

5) Remove the front oxygen sensor. The correct way is to unplug the clip, unhook it from the metal mount and then pull the wire through the fender-well so that the wire isn’t being stretched and twisted as you unscrew it.
O2 sensor location in the exhaust manifold.

Group N STi Transmission Mount Install:

Group N STi Transmission Mount Install:

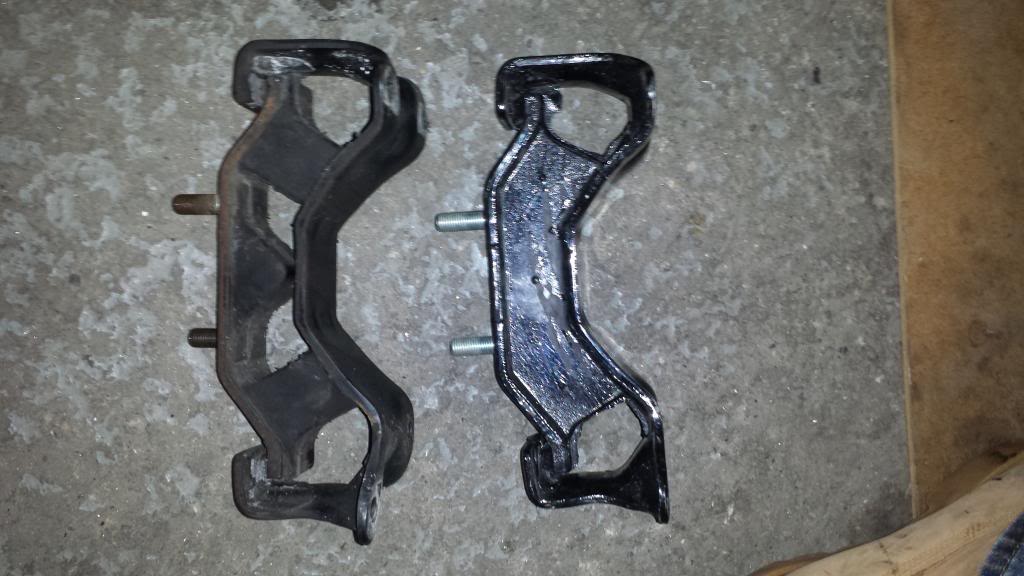
How to install an STi Group N Transmission Mount for manual transmission only. There is a significant difference between the STi Group N transmission mount and the stock one. The STi Group N mount is not only harder, but has more material to it. The stock mount is soft enough to compress with your hand, whereas standing on the STi Group N mount barely deflects the material.

Group N: Stock transmission mount on the left. STi Group N transmission mount on the right.


1.) To start off, look for the long crossmember holding up the transmission- it will be at the end closest to the engine. The ends of this crossmember are right near the rear mount for the front A arm, and are held in with a large 17mm bolt, one on the driver side and one on the passenger side. Remove them both completely. Fair warning- these bolts were tight from the factory. I placed a 3 foot length of pipe over my socket wrench for leverage after I had a casualty- I broke one of the 4″ long socket extensions.

2.)  remove the 2 14mm nuts that hold the bottom of the transmission mount to the crossmember that runs the length of the transmission- these were also tight but came out without breaking any of my tools.

3.) At the rear of the transmission, you will find the third and final crossmember holding the transmission in its place. There are four 14mm bolts in this crossmember there are two on the driver side.