Rear strut brace:
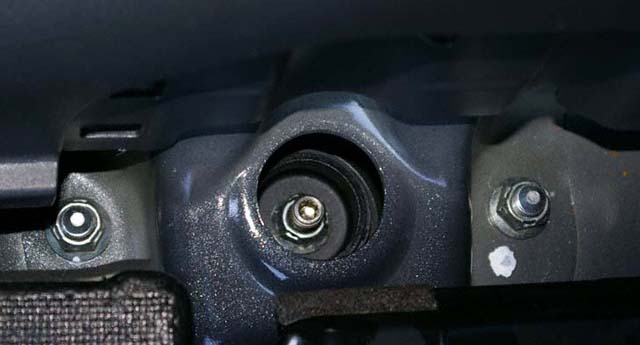
5.) Remove one set (2) of the strut tower nuts using the 14mm socket. The photo below shows a detailed shot of the left strut tower. Do not loosen or remove the center nut. The center nut goes to the shock and remains tightly attached throughout the strut brace install.

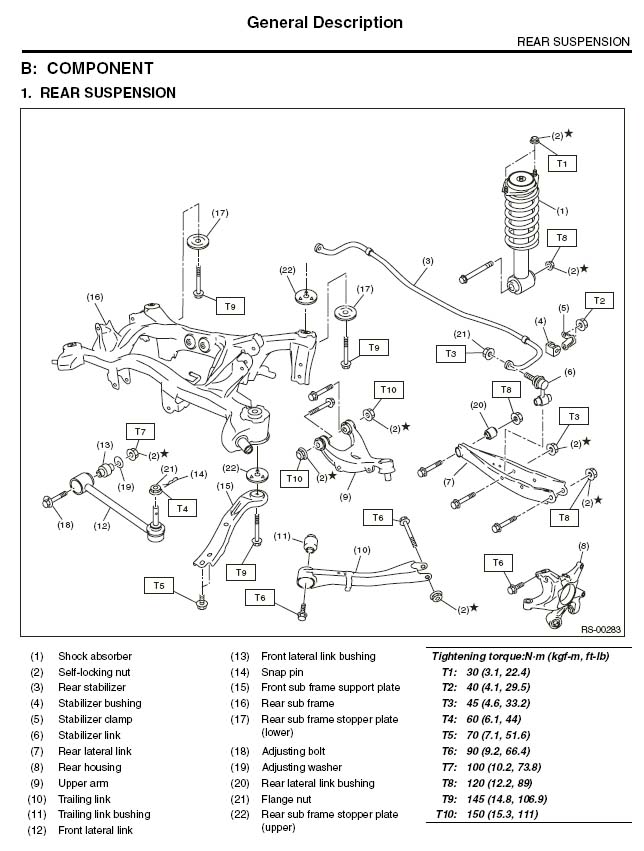
6.) Using the 2 nuts that came with the kit, mount the rear strut brace bracket to the strut tower; snugging them up but not tightening them to spec yet. Lay the other strut brace bracket over the top of the OEM nuts. Check for proper fit. Torque the first two nuts to 30 Nm (22.4 ft-lb) — T1 below.

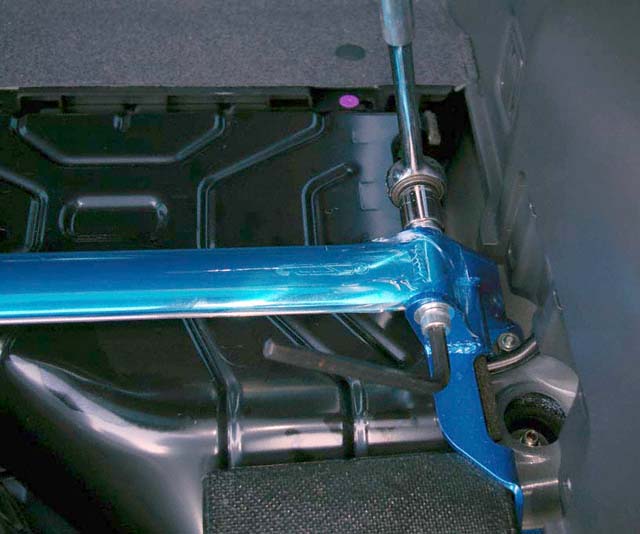
7.) Repeat the process for the bracket on the other side. Again torquing the remaining 2 nuts to 30 Nm (22.4 ft-lb). Double check clearances of the rear strut brace before using the 17mm socket and 8mm allen wrench to tighten the strut brace hinges. Tighten both until the lock washers are flush.

