Rear strut brace:
8.) Peel off the blue protective film, remove the stickers near the left bracket and use your favorite cleaning products to polish things up.
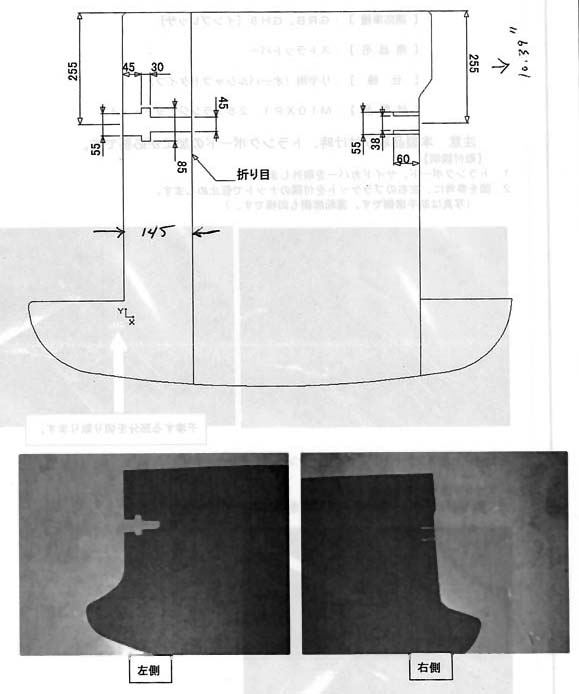
9.) The Cusco instructions came with a diagram of the 2 different cutouts that need to be done so that the floor panel can be slid back into place. Their measurements were in millimeters while my straight edge was in centimeters and my ruler was in inches and feet. Conversions are left to the reader with these 2 tips: MM/10=CM and MM=Inches.
10.) Once the notches are cut, reinstalling the floor is done from the front of the car. Lower both of the rear seat backs, fold the flaps on both sides up onto the top of the main floor area, slide the floor under the brace (from the front toward the back of the car), once the floor is aligned, slide it to the right so that the two channels slide around the right bracket of the brace, and then fold both of the left side flaps over and into place.
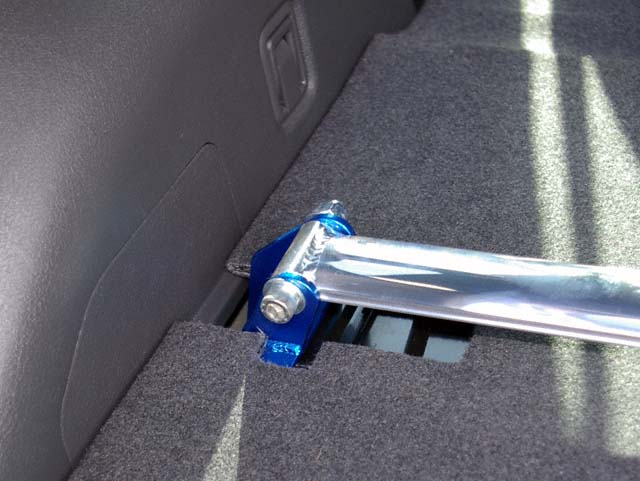
11.) The brace is about 9″ away from the backs of the rear seats. It’s about 1″ above the floor. I don’t think it will be a problem for most items that will set on either side when packing. If there’s a concern about the brace’s finish, laying a towel over the brace will protect it. Larger items can be accommodated by laying rolled up towels (or similar things) as spacers (feet) to hold the item up enough to clear the brace.
