Hood damper Installation for Subaru WRX/STi:
This is a Tein hood damper installation guide for your Subaru Impreza WRX/STi.
Tein BHD01-S28 Hood Damper for Subaru Impreza

Tools Required: 10mm Socket
12mm Socket
Razor
1. Inspect contents of the kit!
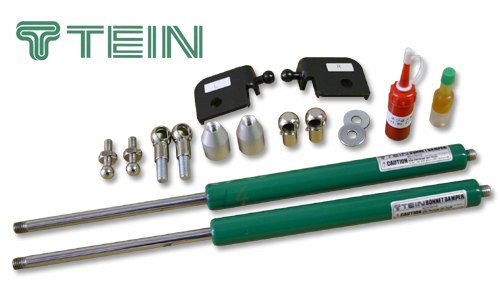
Note the Red bottle is the thread locker, clear bottle is grease!
2. Assemble the dampers by attaching the aluminum extensions to the long ball joint and damper body
Apply thread locker to all threads.
The small ball joint goes on the other end!
3. Next, remove the center fender bolt using a 10mm socket and ratchet, install the joint ball post and washer into this bolt hole, use the tread locker. Torque to 7.5ftlbs.
4. Use a razor to make a clean cut to the factory rubber molding from the fender to the beginning of the engine bay.
5. Take an assembled Tein Hood Damper and remove the locking pin from the Ball Joint (female end), using a little grease cover the male end and place female end over the male end, re-insert locking pin.
Note, the left hand side can be rotated as pictured above to insert the locking pin and then rotated back to the hood.