Front sway bar and endlinks install on 02-07 STi:
This is a step by step guide in installing a front sway bar with aftermarket endlinks on a 04-07 Subaru STi.
1.) Get the car in the air and be sure to secure the car. I used jack stands in the cutouts on the side of the car’s lower frame. It may be easier to use ramps since you will need to tighten the sway bar mounting bolts when the suspension is “loaded,” that is when the full weight of the car is on the wheels/tires.
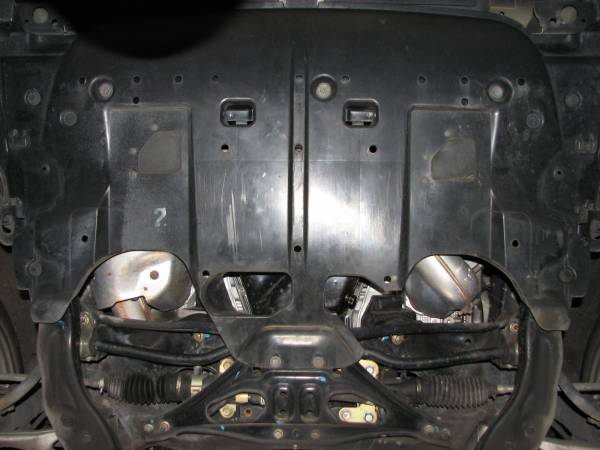
2.) Remove the front lower cover (splash guard). There are five bolts that require a 12 mm socket, three in the front and two toward the rear. There are two pop fasteners on each side as well. These can be removed by using a small flat bladed screwdriver to pop up the center round plastic piece about a quarter of an inch then pulling/wriggling out the entire fastener.
3.) Remove the jack plate. There are four bolts in the center area to remove and two nuts on each side.

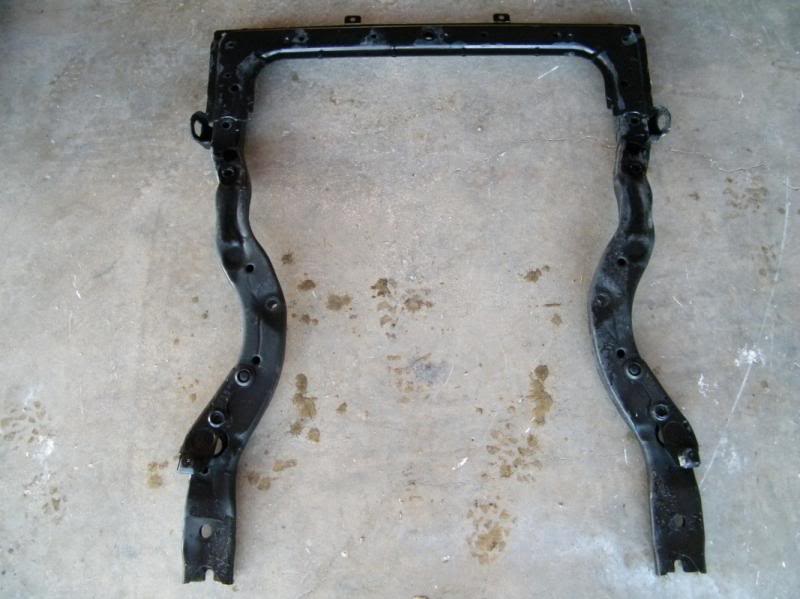
4.) The sub-frame is an odd looking, approximately C shaped, bracket under the front part of the car. The opening of the C is toward the rear of the car. It helps to remove this to make it easier to get to the bolts that hold the sway bar onto the frame.
The sub-frame has five bolts on each leg of the C and two toward the front of the car. The two rearmost bolts require a 14mm socket, the other three on each side require a 17mm socket and the two on the front require a 12mm socket. Start by removing a plastic cover on each side that is held in place by two pop fasteners.

5.) Remove another pop fastener on each side of the sub-frame.
