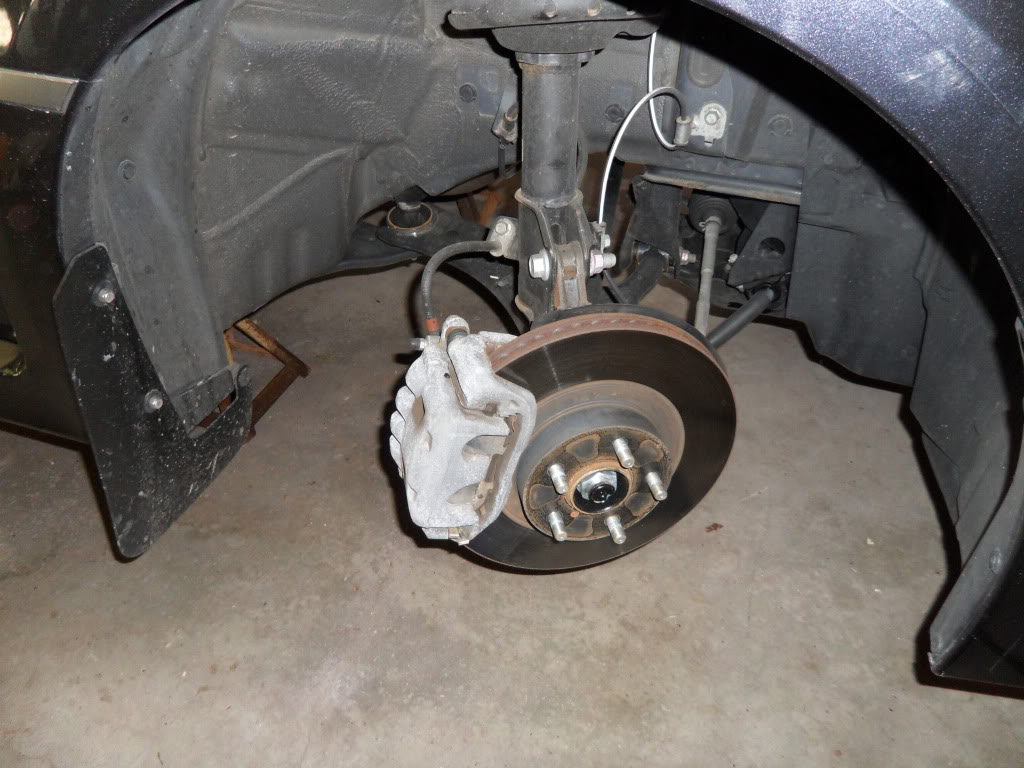
Brake Pad WRX install 02-05:
This is a basic brake pad removal and install walk through with a Subaru Impreza WRX. Make sure to go slowly to ensure you don’t introduce air into the brake system.
1.)Loosen your lug nuts for the corner you are working on, jack the vehicle up and put it on a jack stand, then remove the wheel.

2.)You now need to dislocate the caliper. There are two 14mm bolts that need to be removed: A lower one, and an upper one. Once removed you can wiggle the caliper back off the rotor, and lay it up on top of the rotor next to the strut. At this point, DO NOT let anyone touch the brake pedal.
3.) At this point you can pull the pads free. I just carefully wedged my finger between the rotor and the pad to lever them free. They locate/remove in a manner perpendicular to the axis of the rotor. There are two of them on each side; remove them both. You will note that the inside pad has a metal ‘clip’ attached to it. The purpose of this is actually to rub against the rotor when the pad material is getting worn low; thus creating the horrid metallic squeal that will remind you your brakes need attention.
4.) Organize the new parts. There are two pads, each with one plastic-coated plate, and one shiny metallic plate, and one metal clip. Subaru also provide some brake grease for you.
5.) Remove the old clips by just dislodging them with your fingers.
6.) Put the new clips located in the position of where the old clips went.
