Front sway bar and endlinks install on 02-07 STi:
6.) Loosen the rearmost bolt on each side of the sub-frame first. This one sits down in a cutout in the plastic side undercover. Do not remove the bolt. Just loosen the bolt until it is almost all the way off. There is a slot in the sub-frame here that allows you to remove the sub-frame once all the other bolts are off by pulling the sub-frame forward. Remove the other four bolts on each side of the sub-frame next. Finally, remove the front two bolts and slide the sub-frame forward to remove it.
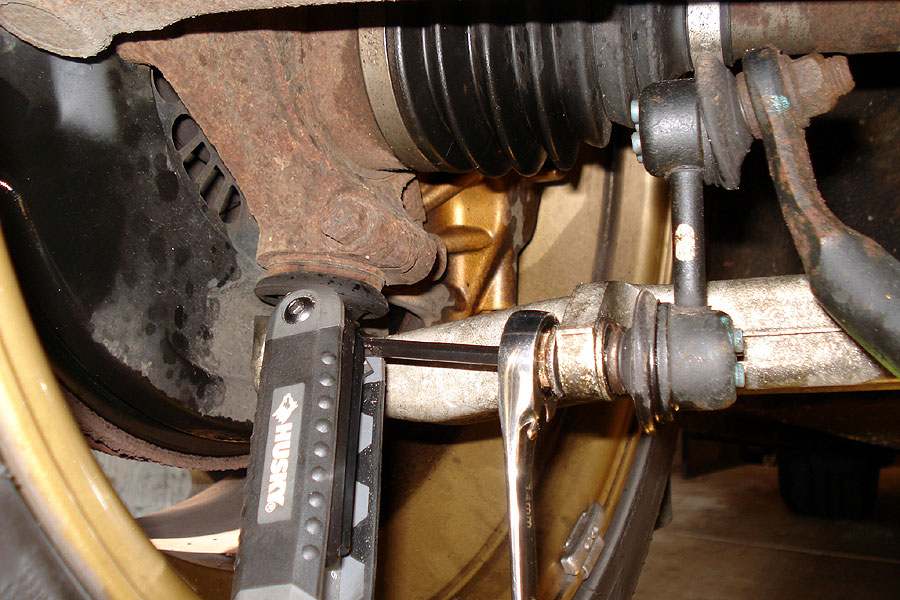
7.) Remove the endlinks on each side starting with the lower bolt. The bolt may spin when turning the nut. Note in regards to removal of OEM front endlinks. The proper way to remove them is to insert a 5mm hex into the “bolt head”. Look carefully at the end of the endlink bolt, you’ll that it has a hex hole at the end of it. The hex wrench will prevent the bolt from rotating. Use a box wrench to remove the nut.
8.) Remember the orientation of the bends at the end of the stock sway bar. You will want to install the new bar the same way. Remove the nut and bolt on each sway bar bracket and the bar will be free. Note the orientation of the bracket. It goes on only one way.
9.) Prepare the new sway bar by wrapping the bar in the area where the bushing will go with Teflon tape.
10.) Use the grease supplied by the manufacturer on the inside of the bushing before putting it on the sway bar. I re-used the stock brackets to attach the bar to the frame and torqued them to 25 N-m (18.1 ft-lbs). If your new front sway bar comes with it’s own brackets use supplied brackets. Remember to reinstall the brackets in the same orientation as they were originally. Subaru instructions say to tighten the bracket bolts with the car on the ground and the vehicle is at “curb weight.”