Fender Brace GTSpec Install on GR Subaru WRX/STi:
This fender brace install was performed on ’11 Subaru Impreza WRX STi 5 Door with GTSpec Fender Braces.
Required Tools:
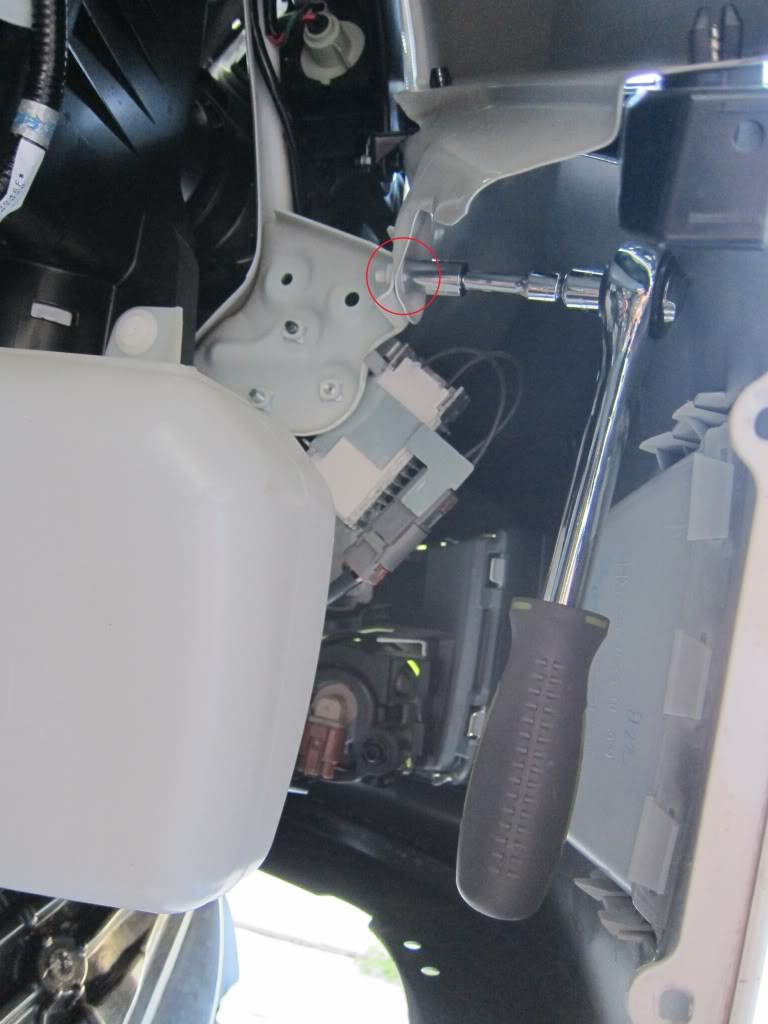
Socket wrench with multiple extenders.
10mm, 12mm, and 14mm sockets
12mm wrench
Impact Driver (Not required but makes things easier)
Tire iron
Floor Jack/Jack stands
Screw Driver
Pliers/Cutting pliers
2 Zip ties
Gloves (Not required but always nice to have)
PB Blaster
Passenger side
I started off on the passenger side. Get the front end on jack stands. Also put chalks on the rear tires for added safety.
Now lets start by removing your tire. (This is where having an impact wrench makes things a breeze!)
*Note* If you have Rally Armor mudflaps you will need to remove those as well.
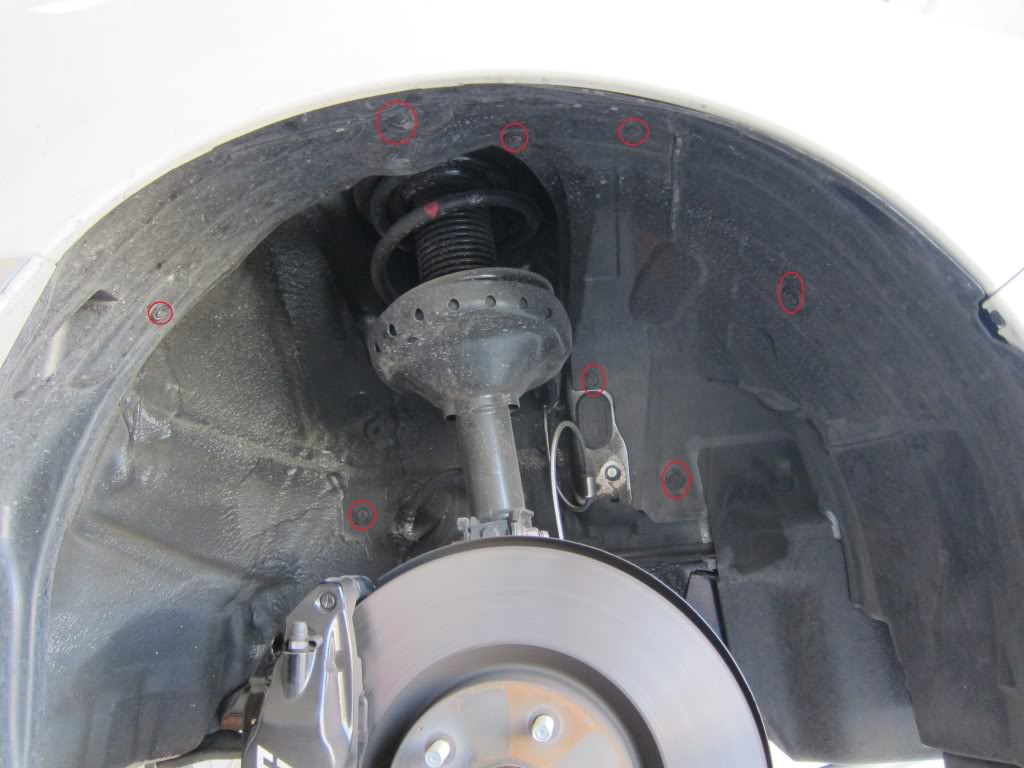
You will need to remove the fender liner and fender panel as well as the first three retaining clips under the side skirt.
A sample of a few clips that need to be removed:
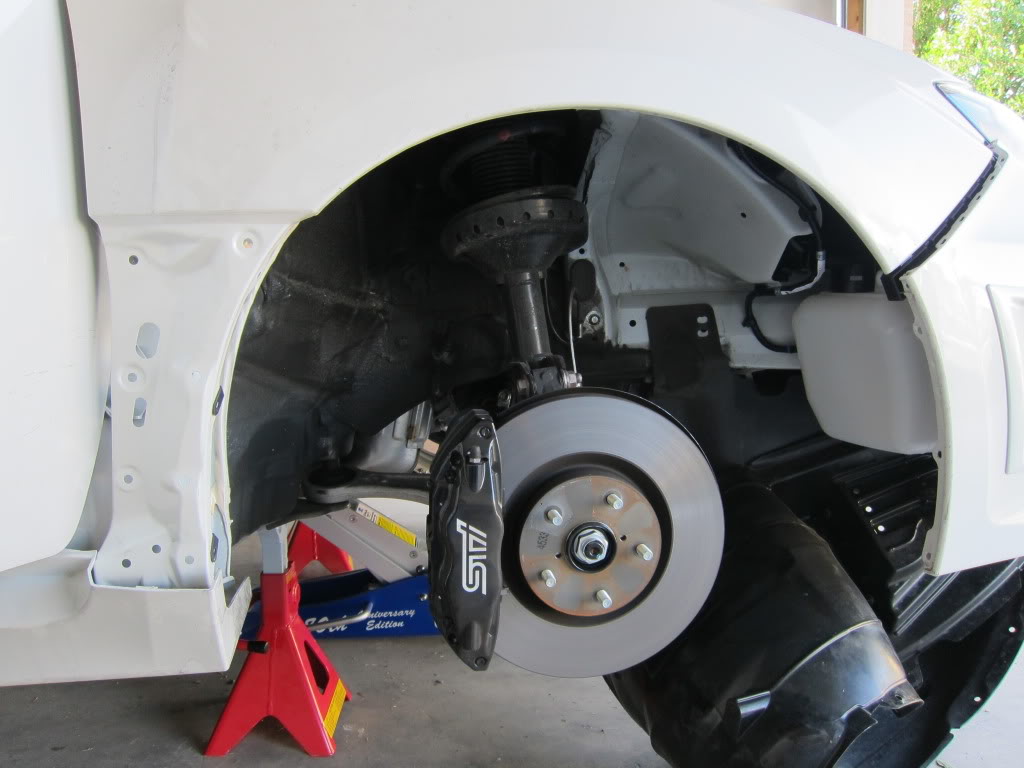
Fender liner and fender cover removed:
*Note* I did not remove by front bumper however i did later on. I would suggest you go ahead and remove the front bumper to save yourself some time later on down the road. It makes things easier!
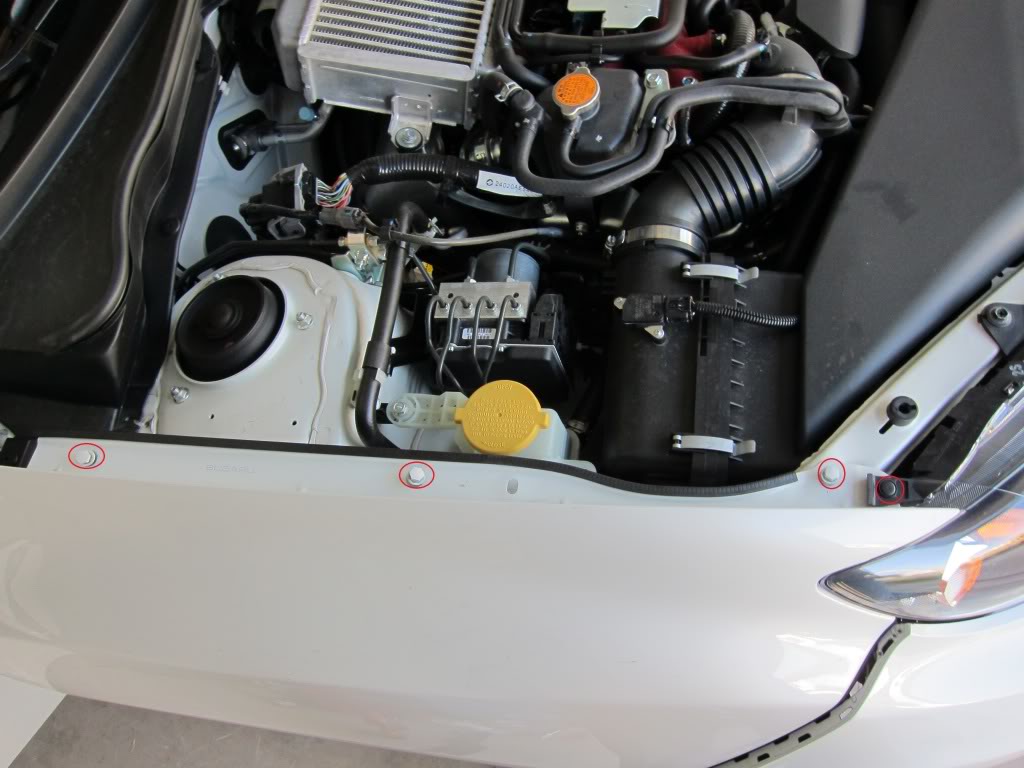
Now remove the 3 bolts in the engine bay and the one retaining clip on the headlight fixture.
Remove the bolt behind the front bumper. (If the bumper is off it makes this next part very easy!)
Unscrew the black plastic bracket that secures the fender to the front bumper. (Again much easier to do with bumper off). I’d also suggest you remove the black bracket all together. This will come in handy when you reassemble the front fender.
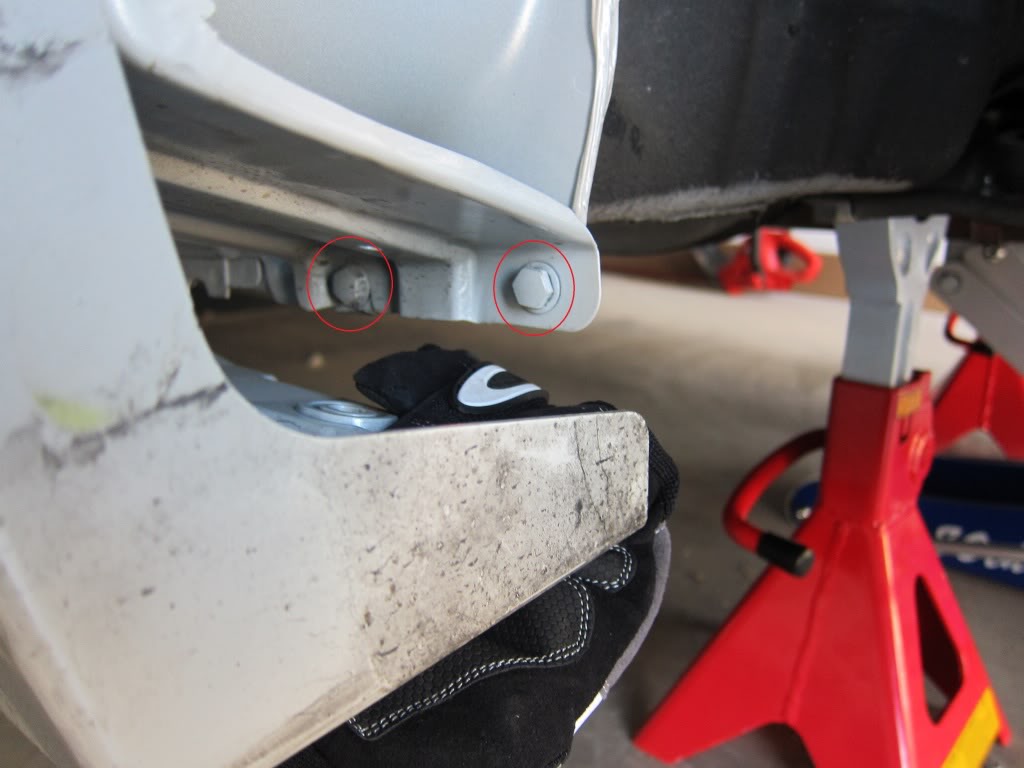
There are two bolts under the side trim. This is where removing the 3rd retaining clip from under neath the side trim gives you a bit more wiggle room.