Short Shifter Install on 04-07 Subaru STi:
A step by step guide on installing a short shifter for a 04-07 Subaru STi and 08-11+ Subaru STi/Legacy.
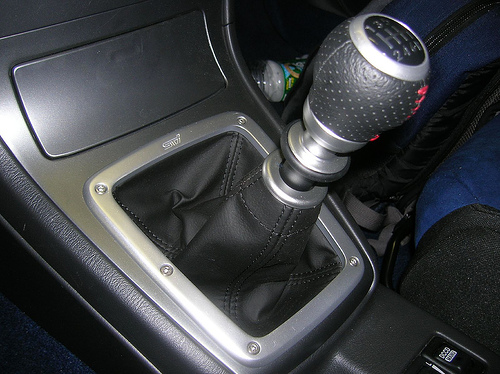
Tools needed:
10, 12, 14, 17mm wrenches
Jack Stands
Jack
Needle nose pliers
Short Shifters used:
Subaru OEM Short Shifter 04-07 STi:
Genuine Subaru STI Short Throw Shifter – 6MT
Subaru OEM Short Shifter 08-11 STi, WRX, Legacy:
Genuine Subaru C1010AG001 STI Short Throw Shifter
Step 1: Once the car is up on jack stands / a lift, you want to support the transmission and remove the rear cross member. You will need to remove it later anyway, it also makes it much easier to work without it in the way. I used a bottle jack and block of wood to support the tranny, but im sure a transmission jack would work much better if you have one.
This picture shows the cross member removed.
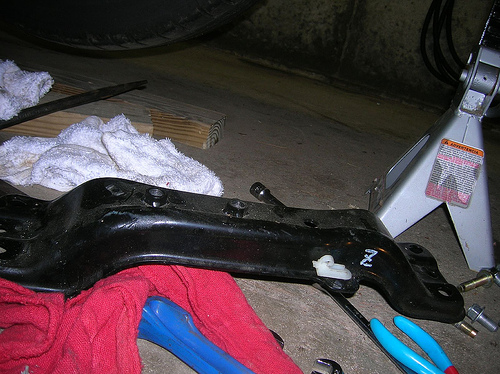
Step 2: Once the cross member is unbolted you will need to unplug the 02 sensor, and unclip its harness from the cross member. It is held by two plastic clips that can be pushed out of the holes in the member without much trouble.
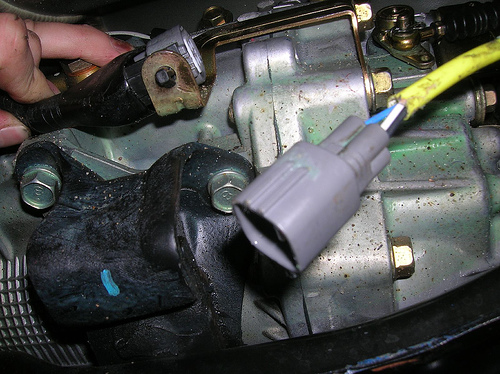
Step 3: Remove the bolt from the lower rod, I believe it is a 14mm. The nut on the other side is attached to the bracket, so you don’t need a wrench on it. I found that ratcheting wrenches work best for most of these bolts.
The bolt that needs to be removed is the one going through the rubber bushing shown in the upper right of this picture.
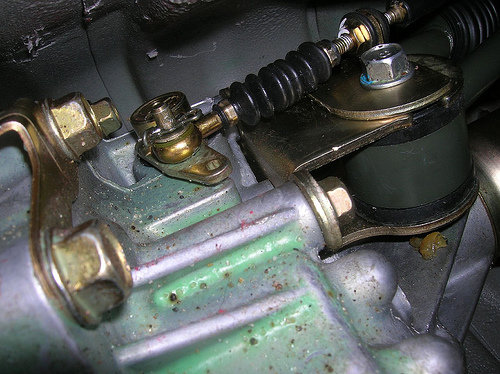
Step 4: Now you can disconnect the reverse lockout cable. It is held in with a pin that can be pulled out with a pair of pliers. I stuck an Allen wrench through the cam as shown in the Cobb short shifter install when I removed it just in case. There is a washer on the lockout cable that may be stuck in the grease, you will want to take it off and set it aside so it doesn’t get lost. The lockout cable can be seen on the left side of the picture above. You can now move the lower rod down, and move the lockout cable out of the way.
