7.) Removing the front springs:
Go ahead and remove the 12mm nuts from the front tophats. Again, if you have your screwdriver in place in the lower holes, the struts won’t fall and rip your CV boot.
Pull the strut assembly out; be careful maneuvering around the ABS and brake lines.
Go ahead and remove the top 17mm nut (see rears above) – you should really put spring compressors
on before doing this. You can rent them at Autozone for a $40 refundable deposit. It is possible to pop it off
without them, but the tophat will fly off – if you put a hole in the wall, your car, or yourself, don’t blame me.
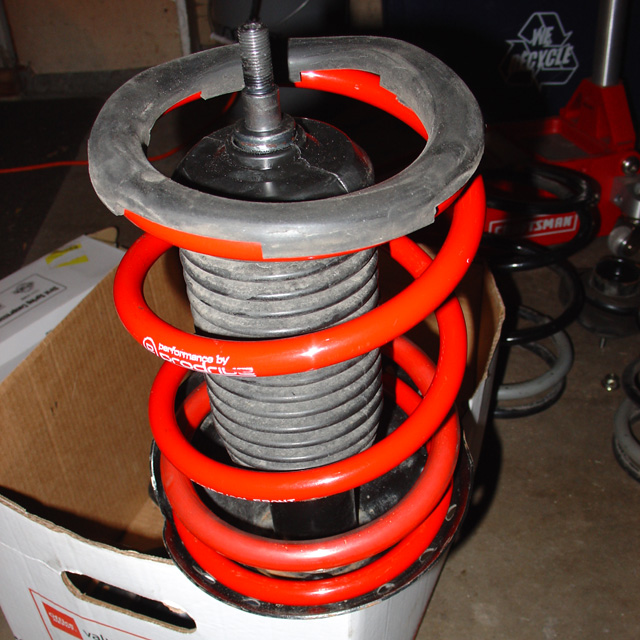
Fit the spring on the perch; it should be pretty obvious where it wants to sit. Don’t forget the rubber doughnut on top. The center hole on the top perch should align with the flange at the bottom. Make a note before you take it apart.

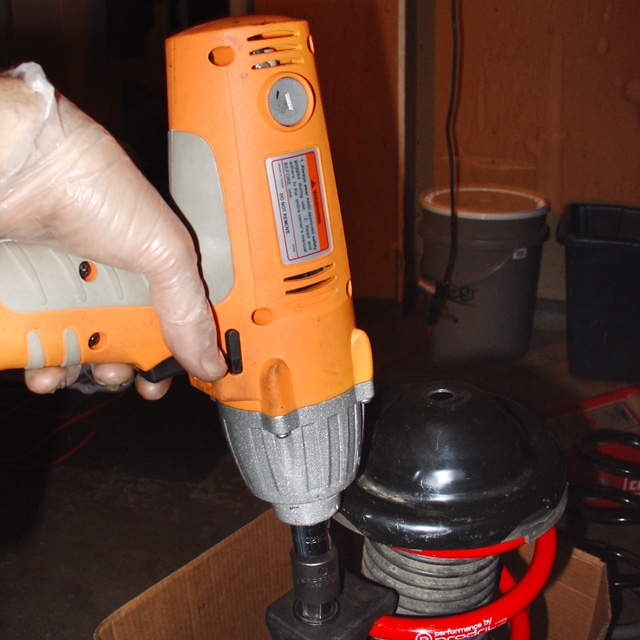
You will need spring compressors to get the top nut back on – or a really strong friend who can push
them down while you thread the nut. This is the one place where I find an impact wrench to be really useful. Cranking the spring compressors by hand is PITA.

Put the 17mm top nut back on (see rears above.)
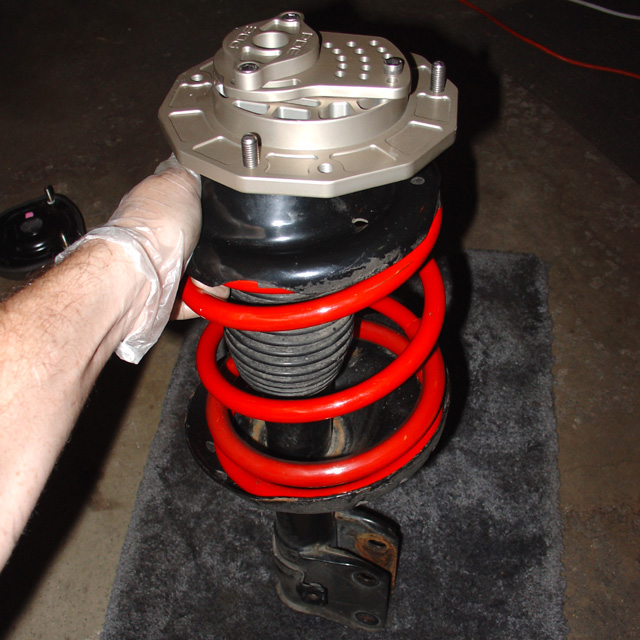
In this case I am putting PDE camber plates on. Top nuts are built-in. I forget if they are 17mm or something else. Process is the same whatever you are using. With the PDE plates you are supposed to remove the top washer. (not pictured.)
If you are re-using the stock tophats, or Group-Ns, make sure that makes it back on.
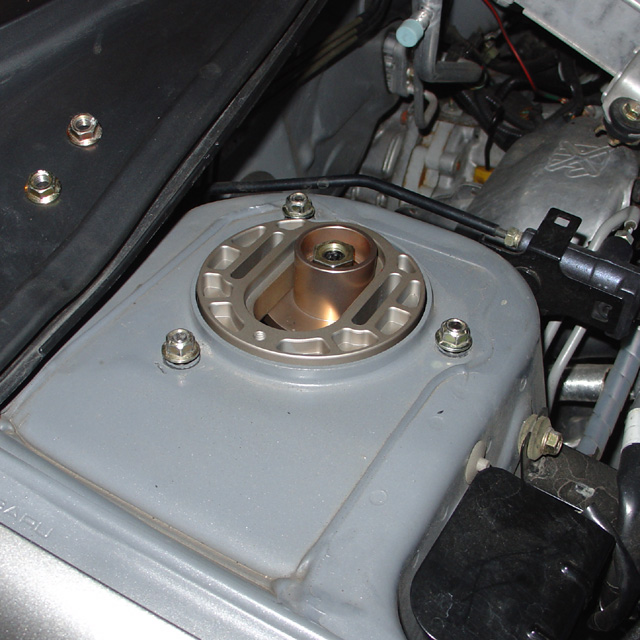
With the PDE plates, I found it easier to first install the main plate on the car, then insert the strut
with only the center portion from below. That way you are only aiming for the one big center hole,
instead of trying to line up the three little bolt holes.


