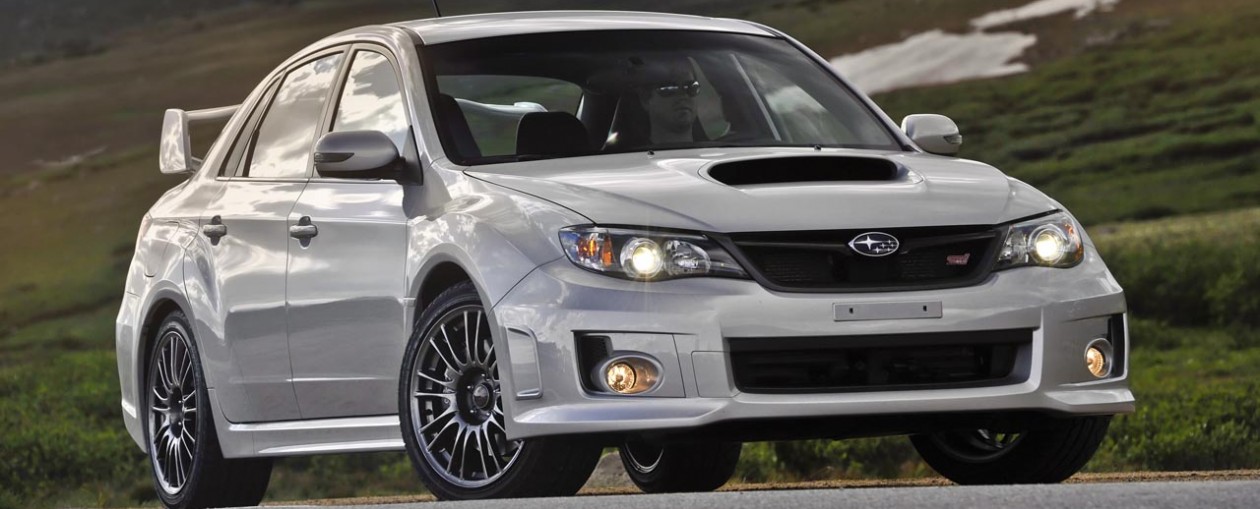
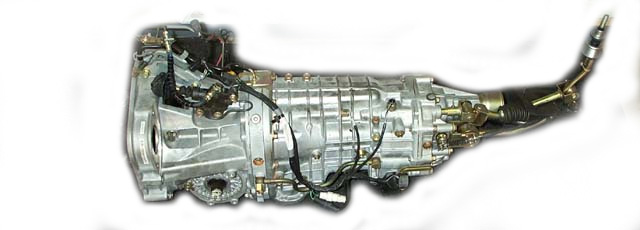
Clutch: Subaru WRX/Sti clutch FAQ
The first impulse when clutch shopping is to get “too much” clutch. This is often a very big mistake, as there will be compromises in the different types and compositions of clutches.
Clutches hold Torque, not Horsepower:
Most performance enthusiasts relate more to horsepower numbers rather than torque, but clutch capacity is measured in terms of torque. Think in terms of a high rpm 250 HP Honda Civic versus a 250 HP Ford Powerstroke turbo diesel. The truck will need about three times the clutch capacity because the engine produces about three times the torque.
Choosing what’s best for you:
It may be difficult to know what clutch is right for a particular application since there are so many different levels of personal tolerance and many variations in design. Some people can tolerate clutch chatter, or noise, or heavy pedal effort, or shorter clutch life, higher cost, or other trade-offs. But why tolerate unnecessary issues if you don’t have to? Get the clutch that suits your needs.
What are the various clutch materials? Other than unique or specialized compositions, clutches are generally comprised of:
1. Organic
2. Kevlar
3. Ceramic
4. Feramic
5. Carbon (initially invented in 1998 by Alcon Components for the Subaru World Rally team )
6. Sintered Iron
Depending on manufacturer specifications, this list also shows the general order of the amount of force the clutch materials can hold.
Organic: Metal-fiber woven into “organic” (actually CF aramid with other materials), original-equipment style. Known for smooth engagement, long life, broad operating temperature, minimal-to-no break in period. Will take hard use, somewhat intolerant of repeated abuse (will overheat). Will return to almost full operational condition if overheated. Material is dark brown or black with visible metal fibers.
Kevlar: High-durability material more resistant to hard use. Engagement is similar to organic, but may glaze slightly in stop and go traffic, resulting in slippage until worn clean when used hard again. Higher temp range in general, but can be ruined from overheating; will not return to original characteristics if “cooked”. Material is uniform yellow/green and may look slightly fuzzy when new.
Ceramic: Very high temperature material. Engagement is more abrupt. Will wear flywheel surface faster, especially in traffic situations. Due to it’s intrinsic properties, ceramic has a very high temperature range. Material is any of several light hues – gray, pink, brown.
Feramic: This unique clutch material is one that incorporates graphite and cindered iron. The result is a friction material that offers good friction coefficient, torque capacity, and smoothness of engagement.
Carbon: Very high temperature material. Engagement is more abrupt. Will wear flywheel surface faster, especially in traffic situations. Slightly more durable and flywheel-friendly compared to other aggressive clutch materials. Material is black.
Sintered Iron: Extremely high temperature material. Engagement is extremely harsh and is generally considered an “on/off switch” both due to it’s characteristics and the clutch types this material is generally associated with. It requires a special flywheel surface. Material is metallic gray in color.