STi intercooler install on a Subaru WRX

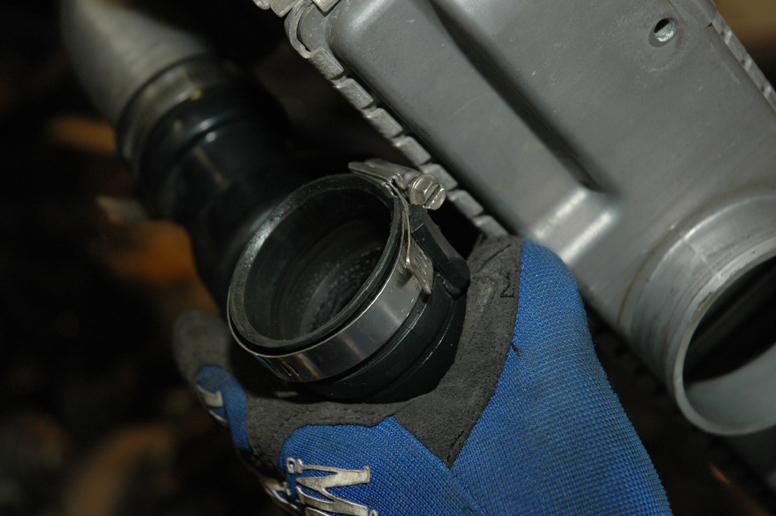
4. Turn the intercooler over and have a look at the stock Y-pipe. It’s made of plastic and has lots of bumps and wiggles—not a smooth flow! But note that on the turbo end, there’s a tab to keep the hose clamp in the right position for easy installation and removal. You won’t have that on an aftermarket silicone Y-pipe, and you’ll want to be careful about that.

The stock Y-pipe is made of plastic, and not a very smooth flow.
This tab keeps the hose clamp in proper orientation for easy access.

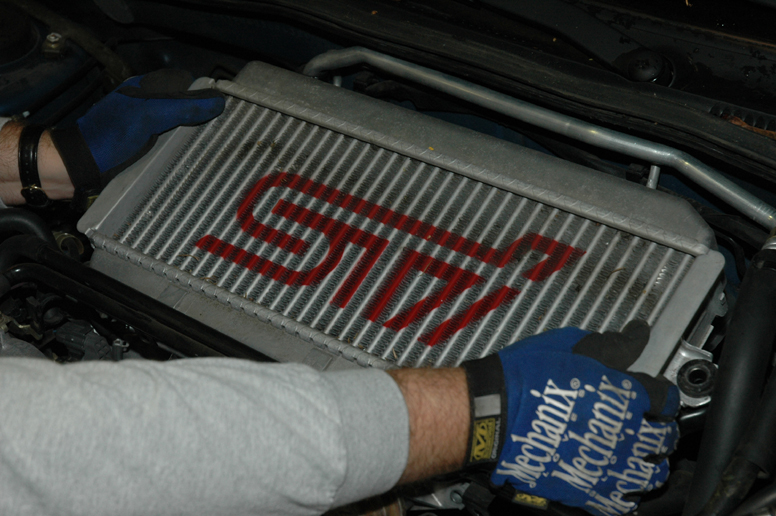
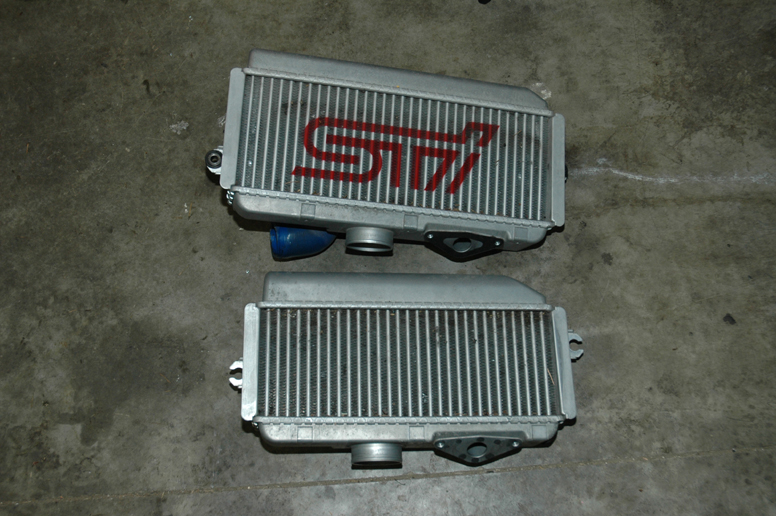
5. With the old intercooler out of the car, you can compare the WRX and STI parts. The STI part is wider, deeper, and a little taller.

The STI intercooler is larger in every dimension than the stock WRX unit.

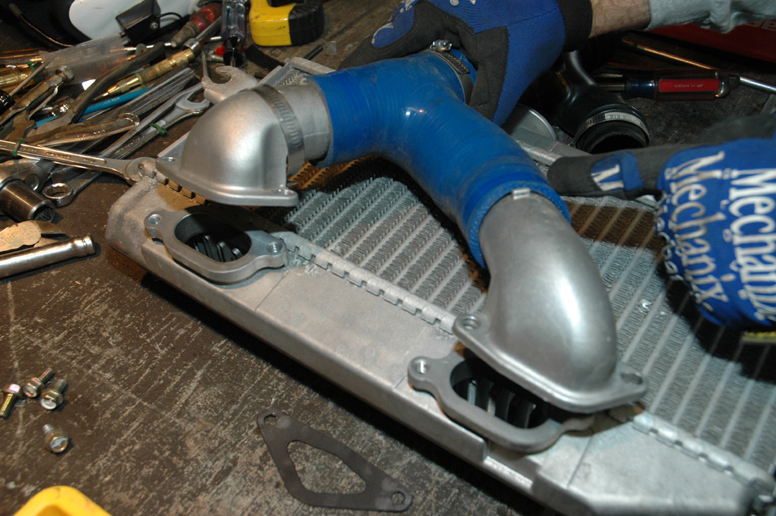
6. Install the metal STI Y-pipe and the inlet elbow on the STI intercooler and tighten the hose clamp on the inlet elbow. The Y-pipe installs in one orientation only. You can re-use the stock WRX inlets if your STI intercooler does not have the STI Y-pipe installed. You need a new pair of inlet gaskets and you need to modify a WRX flexible Y-pipe with an extension if you do. It’s better to get the STI Y-pipe, however.

If you need to use your WRX intercooler inlets, they fit right on to the STI intercooler.
This is an adapted WRX Y-pipe. It’s cut in the middle and a length of exhaust tubing installed. This is not the preferred method, but it works.

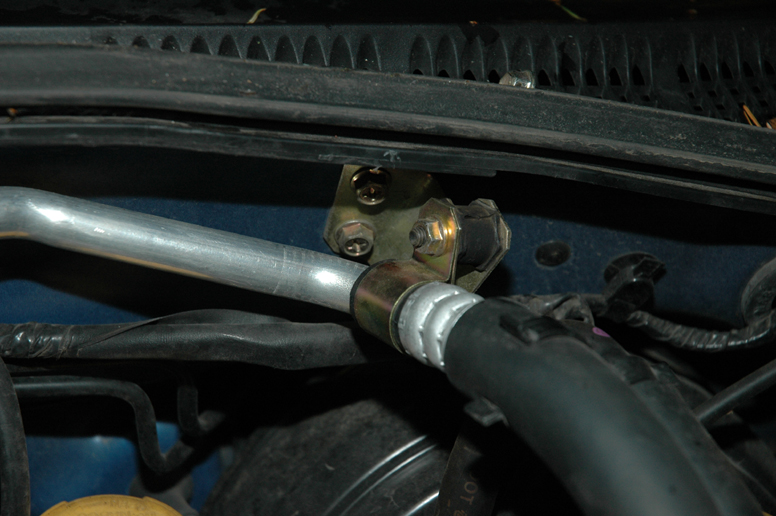
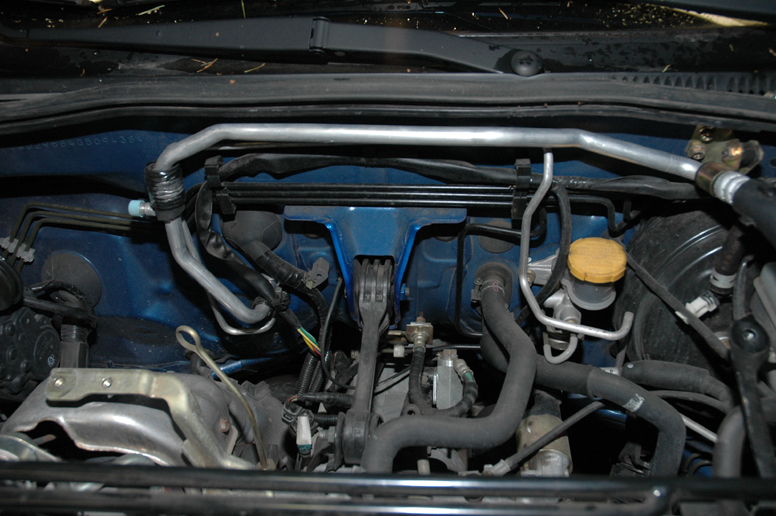
7. This step is tricky and dangerous. The larger intercooler you’re installing interferes with the air conditioning line that runs up near your car’s firewall. This line needs to be bent a little to keep it clear of the STI part. You can have a Subaru dealer or an experienced shop do this, or you can try it yourself, but be very careful not to kink the line or your air conditioning won’t work. Install the STI bracket to hold it in place.

This STI bracket keeps your AC lines from rubbing the intercooler.
The lines have to be bent in several places to clear the intercooler. We had a Subaru shop do it.

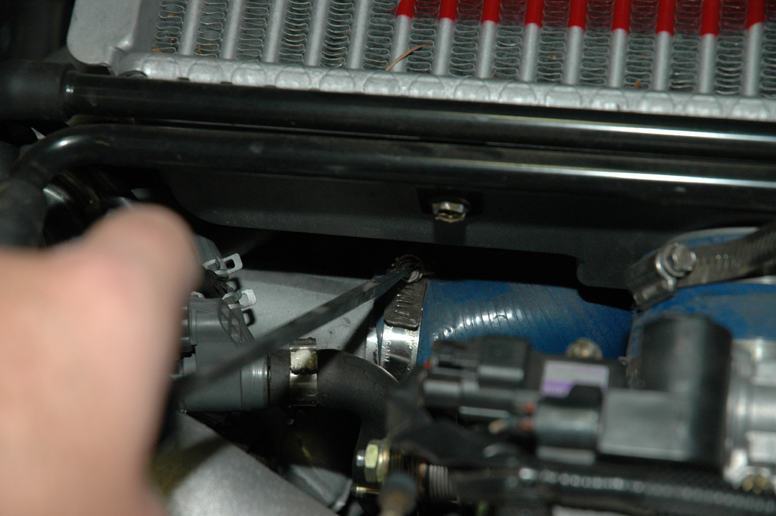
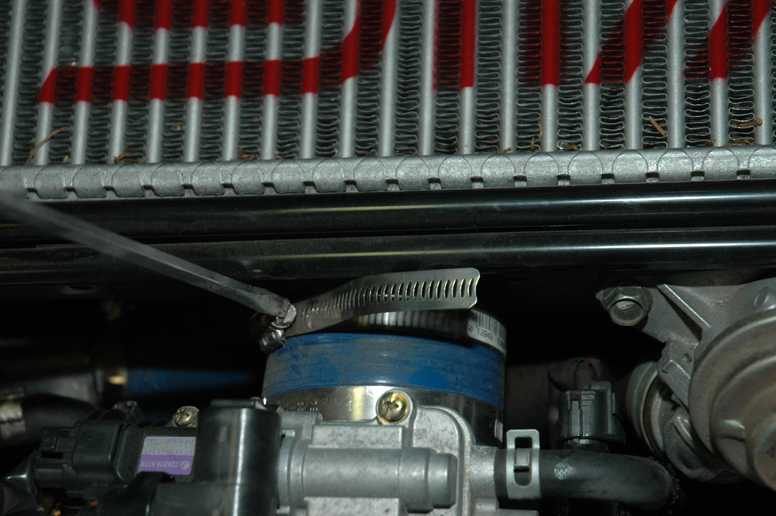
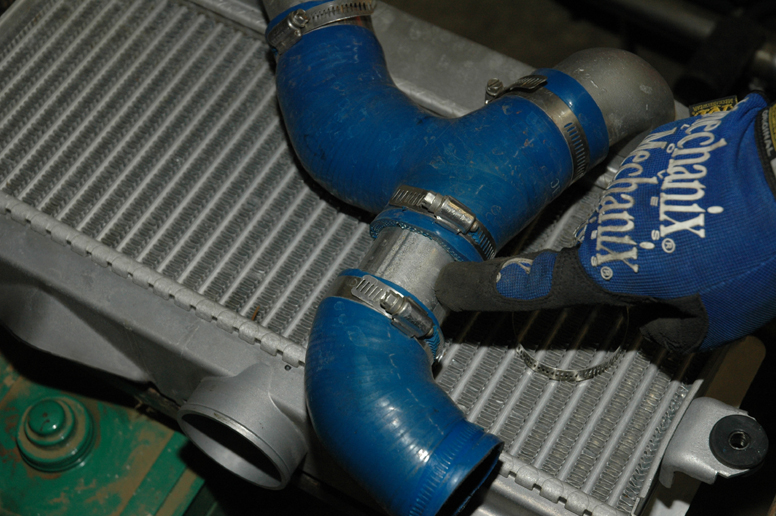
8. Place the STI intercooler in its place, making sure that the AC lines clear the part, or the intercooler will wear a hole in the lines. Carefully fit the Y-pipe to the turbo and the intercooler output to the short throttle body hose, and tighten the hose clamps. Place the turbo clamp in a good orientation so that you can remove it again later.

Carefully place the new intercooler in position and work the hoses onto their flanges.
Keep the hose clamp oriented so that the adjustment head points out from under the intercooler. This way you’ll be able to remove it easily later.
The joints between the components can leak pressure if they’re not right, so make sure you get these connections on straight and snug.