
6.) Removing the rear strut assemblies and springs:
Go back to the strut tops and remove the 12mm nuts.
If you have your screwdriver in place in the lower holes, the struts won’t fall to the floor. Be careful maneuvering around the brake line.
Rear strut assembly removed:
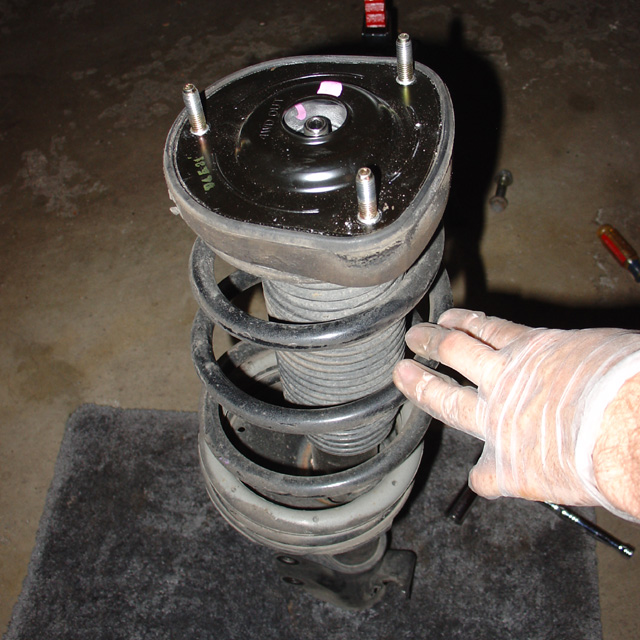
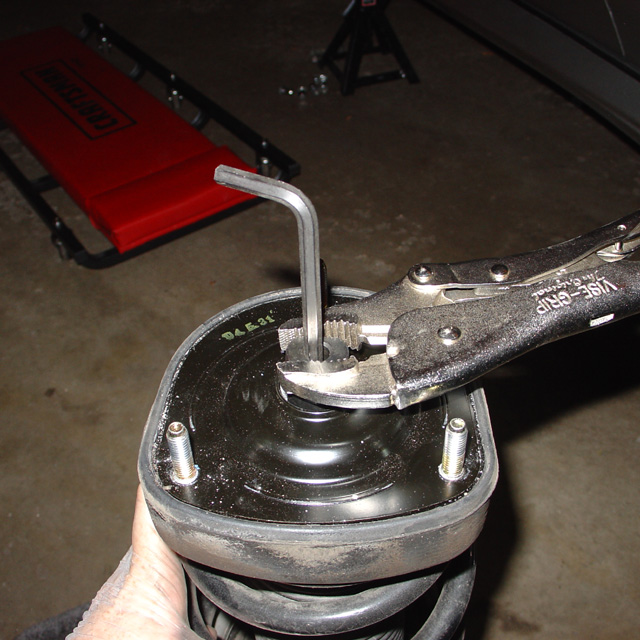
Go ahead and finish taking off that 17mm top nut:
You don’t need to use spring compressors on the rear struts.
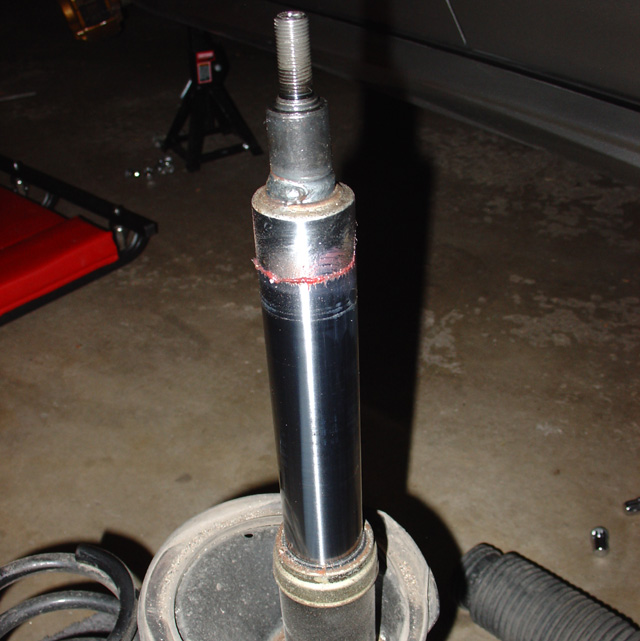
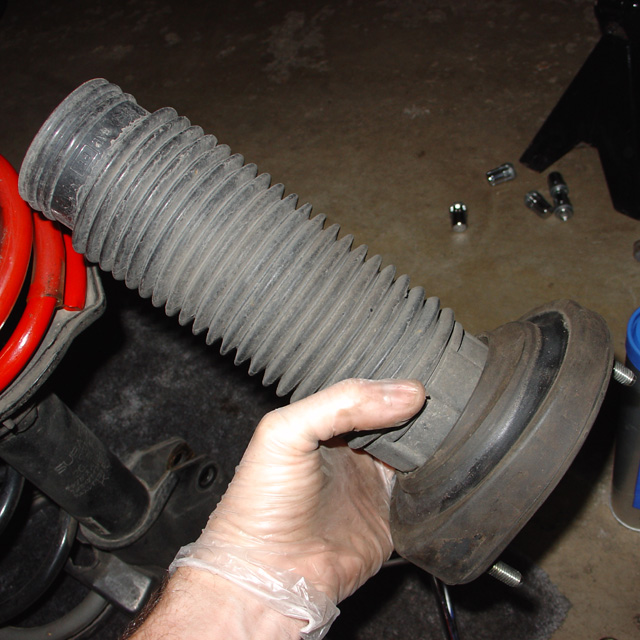
Top and dust cover removed:
Fit the spring onto the perch. I like to completely do one side before taking apart the other side, so I can refer to the other one to make sure everything is oriented properly.
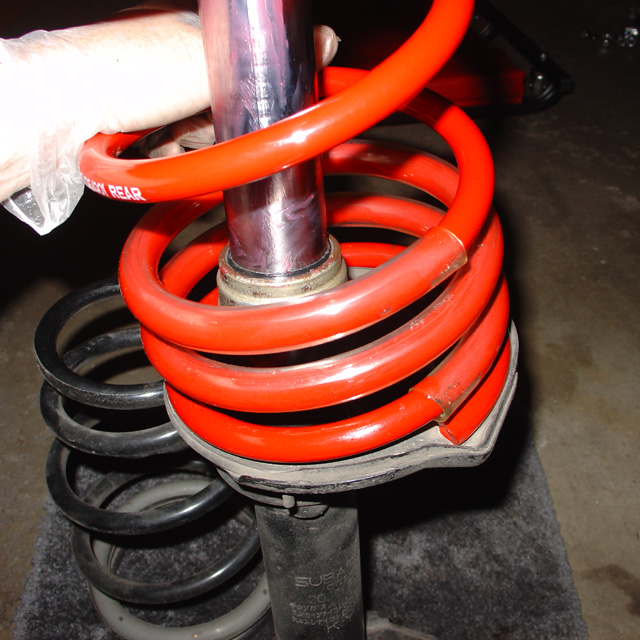
Make sure you have the dust cover slotted back into the tophat. Sucks to get it all back together only to find out you forgot them.
Sucks to get it all back together only to find out you forgot them.
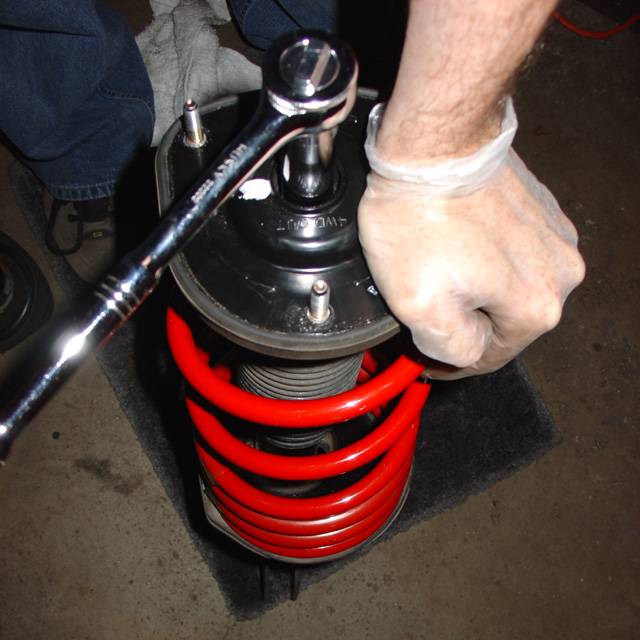
Put the tophat back on. The bolt marked “4WD OUT” should basically align with the flange at the bottom of the strut. Again, here I like to compare to the one from the other side.
You’ll need to push down on the tophat while you thread the 17mm bolt back on.
The tophat will tend to twist as you tighten it down; a second set of hands will help here.
The tophat will tend to twist as you tighten it down; a second set of hands will help here.
You’ll need to use the pass-through socket and allen wrench here; otherwise the strut will be spinning inside the tube and you won’t get very far. Get it as tight as you can by hand for now; you can hit it with a torque wrench once you get it back on the car.