3.) Now, get the car up in the air.
4.) Prepping to remove the struts.
Some painters tape on the wheel arches will help if you get a little wild with the wrenching.
Yeah I don’t know quite how it happens either but I have nicked them a couple times.
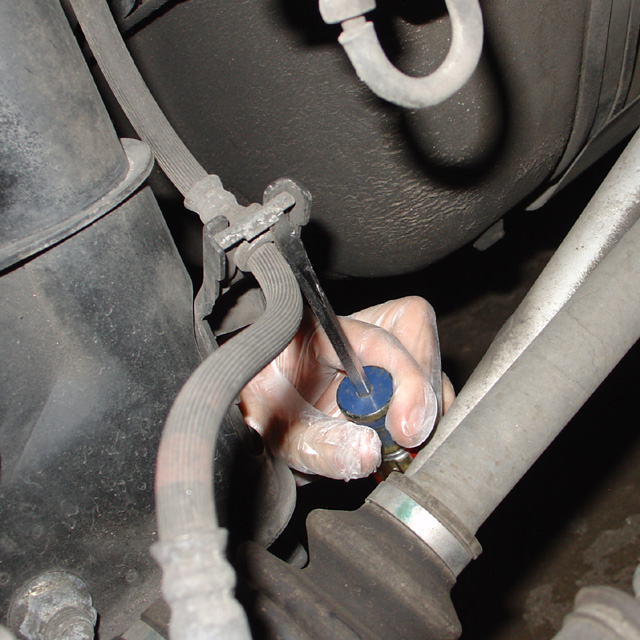
Rear brake line clip. Get a flathead screwdriver under it, then tap the screwdriver with a hammer from below.
Remove the bolts (12mm) for the front ABS and brake lines.
5.) Removing the lower 19mm bolts on the struts:
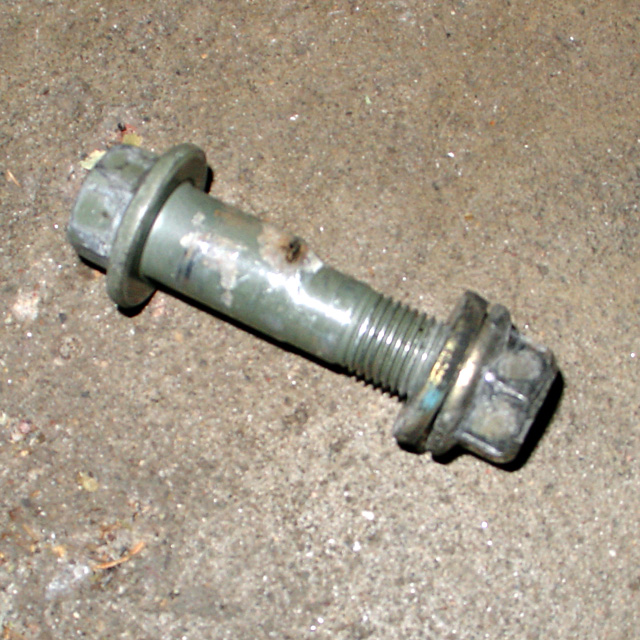
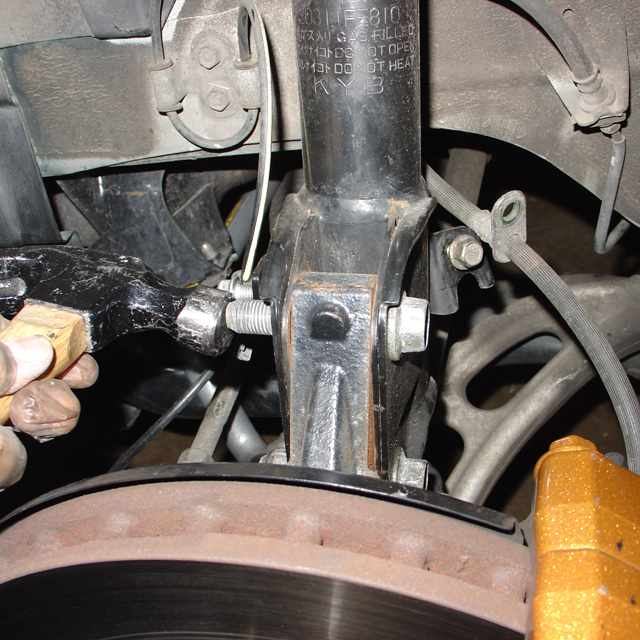
First, note the position of the camber bolt (top bolt in the front.)
If you have never had an alignment, who knows where they are set from the factory. You can either
put them back how they were, or just set them as indicated below. You should get an alignment
at some point after doing the springs anyway.
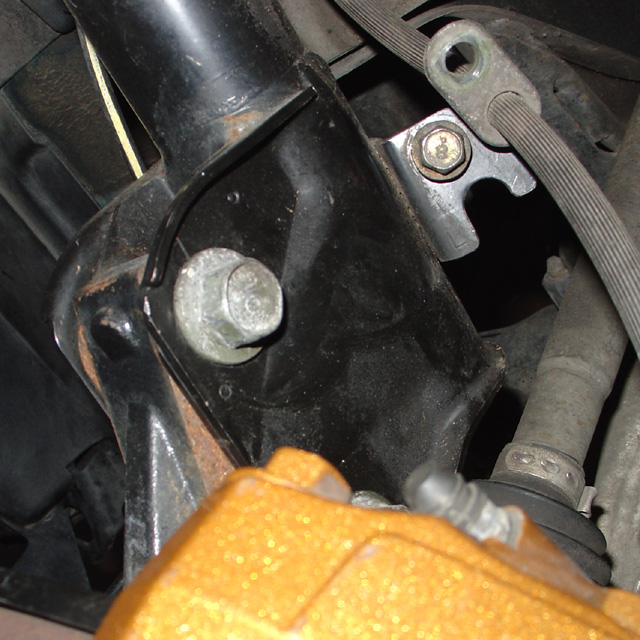
If you look at the head of the camber bolt there is a “10” inscribed on the top, basically that should be
pointed at the strut to get max negative camber. So the center mark would be perpendicular to the strut.I think the shape of the bolt may be such that a position slightly off perpendicular may actually give you a hair more camber, but this is close enough until you get it on a rack.
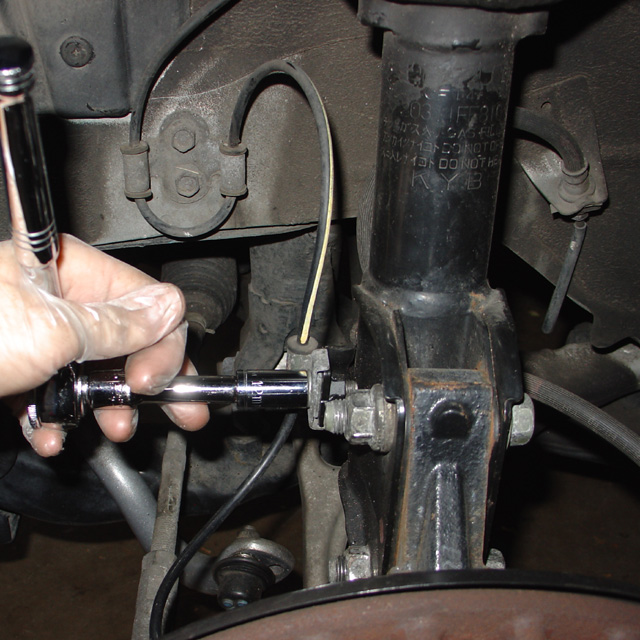
This is the fun part. Get a breaker bar and a 6-point 19mm impact socket and start cranking on those lower bolts. A 12-point will probably round the bolt, and anything less than an impact socket may well break. Throw a wrench on the backside nut to keep the whole thing from spinning.
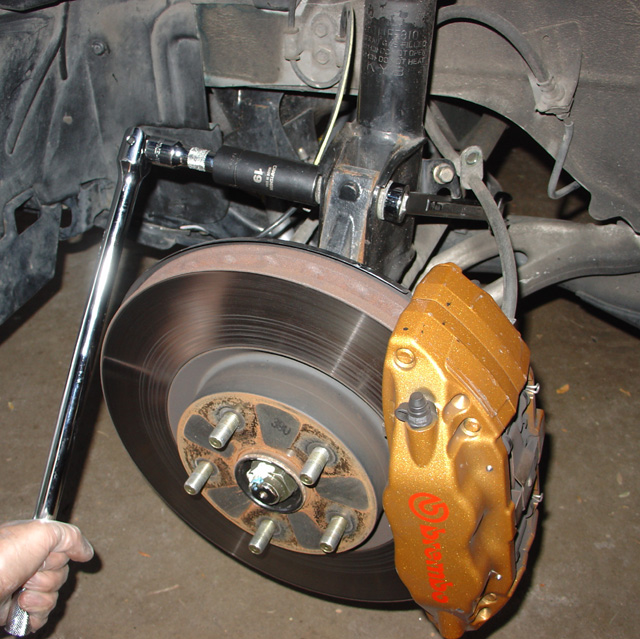
If you are having problems, throw a pipe over the breaker bar. Should give you plenty of leverage.
If you are thinking ahead, you can soak the bolts w/ PB Blaster the night before to help loosen them up.
Depending on how much clearance you have, you can either work the nut side or the bolt side.
Pay attention to the orientation of the bolts for when you put it all back together.
Once the nut is off you can tap the bolts with a hammer to encourage them to come out.
Put a screwdriver or punch through the bolt holes to keep the assembly from falling when you remove the strut top nuts.
Camber bolt removed. Pay attention to how you took it out, it only fits in one direction.