Headlight Amber Signal Removal/Clearing WRX/STi:
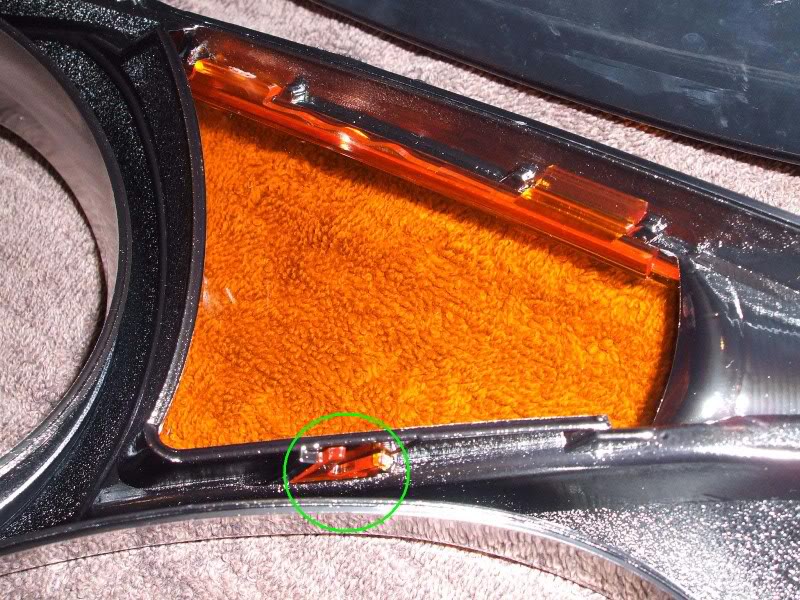
13.) Take the lens/chromed housing part and lie it face down as per the last pic above. There is one single Phillips-head screw holding the chrome bit onto the lens. It’s about 2/3 to the left side, along the bottom. Remove this screw. I found it easiest to then pull the top out, followed by the bottom (and reverse for getting it back in). Now put the lens in a safe place.
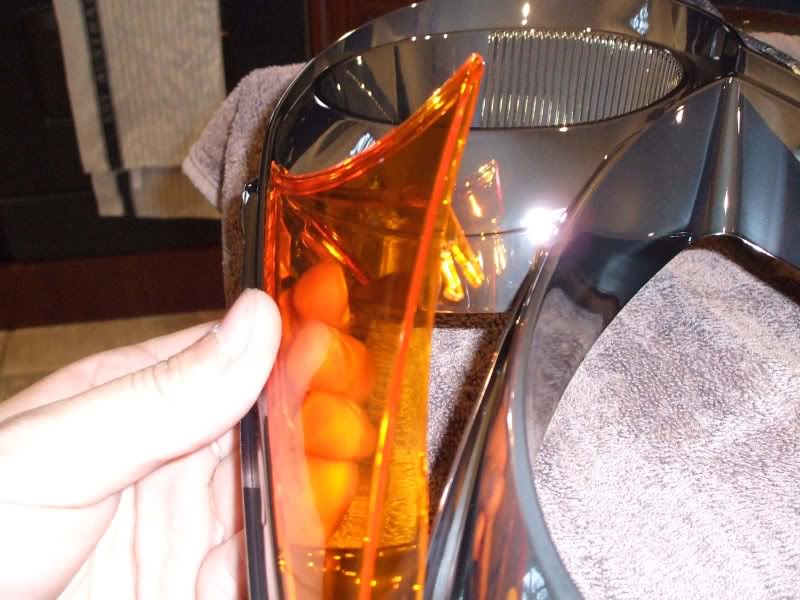
14.) The orange lens is hinged on one side and clipped on the other. It will simply fall out the front by squeezing the fork-like tabs, and push slightly. It will pop out like in the pictures below.
15.) For those who wish to ‘blacken’ their surrounds, now is the time to do it. I didn’t do it myself, but apparently some plastic etching paint (to prepare the smooth chrome surface which paint will not stick to normally) and a can of high-temp paint will do the trick.
16.) Follow the above steps backwards:
Reassemble the surround in the lens and reassemble front and back. Given that you didn’t scrape all that black sealant off, if should seal back up fine. However, if you’re the pedantic type, or you’re the idiot that did scrape it all off, 3M make a caulk that is apparently identical to the stuff Subaru use. To ensure a proper reseal of the headlight, Buy a roll of 3M “strip caulk”. It’s the 1/4″-3/8″ thick black sticky windshield caulk. Same stuff Subaru use for these headlights and windshields. The carparts store should have some. Put a thin strip all the way around in the ‘trough’ of the headlight housing where the lens will ‘sink’ into,
17.) Re-install back into the car, but before you bolt it all back in, just hook up the wires and check if the headlights work.
18.) Congratulations and enjoy your new headlights!